Ultimate Squat Rack Guide: All To Know Before Buying
Author:
Reviewed by:
(21 years of Oly Lifting experience)
Unlock your full potential by engaging with our experts and community! Have questions about your fitness journey or looking for expert advice on weightlifting techniques? Don’t hesitate — leave a comment below and Ihor Shymechko will provide a personalized answer and insights to help you reach your goals.
Torokhtiy is reader-supported. Some links are affiliate links, and we may earn a commission at no extra cost to you. See our disclosure page for details.
When you walk into a gym and then see those mid-sized constructions made out of steel beams and tubes, you always wonder what these are called? Well, wonder no longer – they are called ‘squat racks’.
The best squat racks let you load and unload weight plates rapidly and not to lift the bar from floor to the shoulders every set. Adjustable safety bars catch the barbell if you miss a rep, avoiding harm and allowing you to push yourself.
But, with so many squat racks available, choosing one might take time. In this post, I’ll cover different types of squat racks, key features to look for, and tips on how to choose the one that fits your space and meets your needs. Squat frames help you reach your fitness objectives whether you’re a novice or an experienced lifter.
Let’s dive in!
Squat Racks: Everything You Need To Know Before Using Them
Squat racks are essential equipment for anyone serious about strength training. A squat rack is a sturdy metal frame designed to hold a barbell in place while you perform compound movements that involve heavy lifting such as squats, bench and shoulder presses, or other lifting exercises.
If you’re serious about strength training and weightlifting, then you need a squat rack with a pull up bar. But before you step into it, there are a couple of things to pay attention to.
Squat racks (also known as weight lifting racks) are made to support heavy barbell movements – squats, bench presses, overhead presses, etc. They’re good for both beginners and experienced alike, and they come with quite a few safety features. The reason it’s so popular is because it lets you target several muscle groups at the same time, so it helps enhance muscle growth and strength.
A squat rack is great for anyone who wants to perform squats or other heavy lifting exercises safely and effectively. It helps ensure proper form, prevents injuries, and allows you to gradually increase the weight you lift over time.
1. General Characteristic
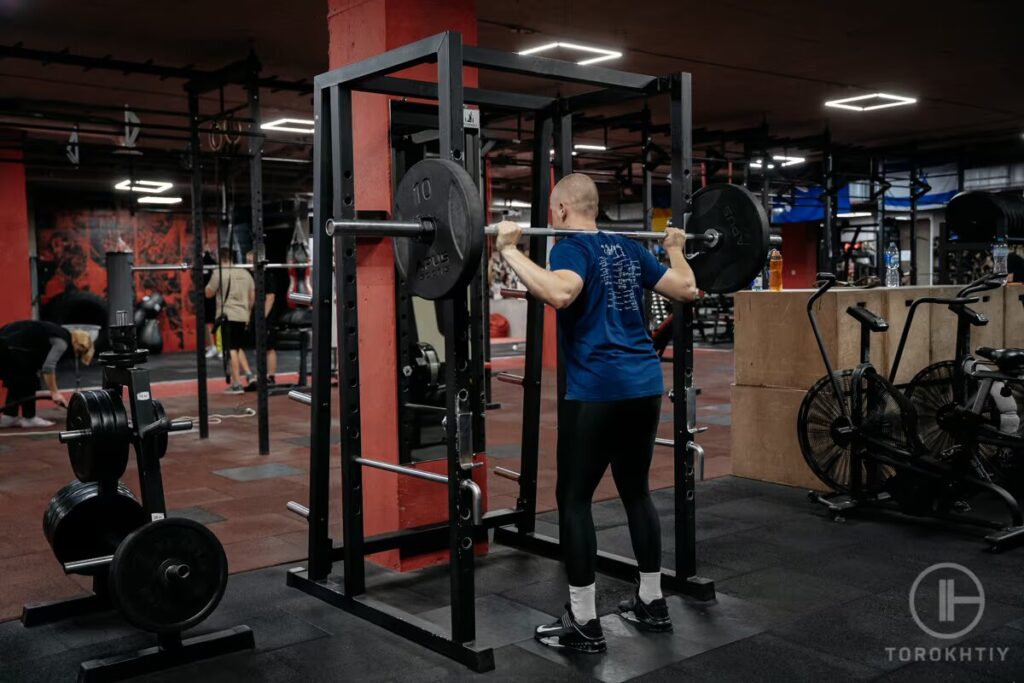
Squat racks come in different shapes and sizes, but share specific general characteristics. First and foremost, a squat frame must be sturdy and stable enough to support the weight of a loaded barbell. This is achieved using heavy-duty materials such as steel or aluminum and engineering the frame for maximum strength and stability.
The frame of a squat rack typically consists of two vertical posts with adjustable horizontal bars that hold the barbell. The spacing between these bars can be adjusted to accommodate different barbell lengths and lifter heights. Most squat racks also have adjustable safety bars set at different sizes to catch the barbell if you fail to complete a rep or lose weight control.
Squat racks must be adjustable – meaning adjustable horizontal and safety bar heights. Squats and bench presses need the barbell to be at the right height for optimum form and efficiency. You don’t want the barbell in an awkward position to take away from the experience and safety.
Squat racks often contain pull-up bars, dip stations, and weight plate storage. These characteristics may enhance your training by letting you do many workouts on one small piece of equipment.
2. Pros and Cons
Squat racks improve safety. The best weight racks contain adjustable safety bars that catch the barbell if you fail a rep or lose control, avoiding major accidents. The squat rack’s stability prevents the barbell from falling or shifting, preventing accidents.
Squat racks are versatile. Squat racks may be utilized for bench presses, shoulder presses, and lunges. Some squat frames include pull-up bars or dip stations to vary your training.
However, there are also some downsides to using a squat rack. One of the most significant drawbacks is cost. A high-quality squat rack can be a significant investment that may only be feasible for some. Additionally, a squat rack can take up a lot of space, making it impractical for those with limited workout space.
Another potential disadvantage of using a squat rack is that it can be more challenging to set up and use than other exercise equipment. Proper form is essential when performing squats or other weightlifting exercises; it can take time to learn how to use a squat rack correctly.
Positives:
Could be better:
Squat Rack Dimensions Explained
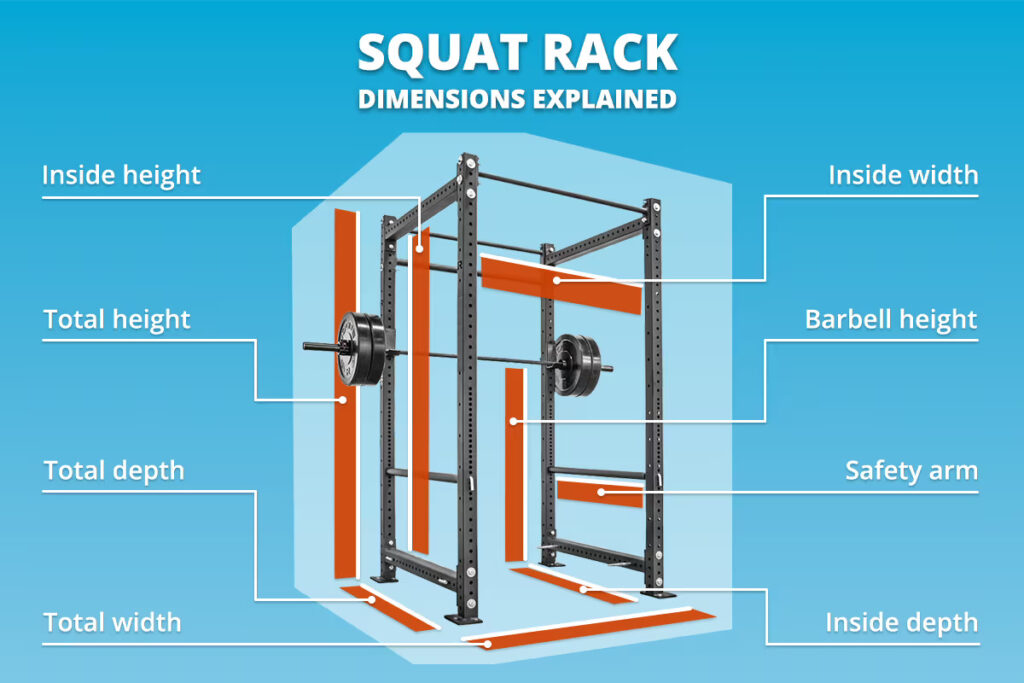
Squat racks have upright poles to hold a barbell at different heights.
1. Height
Squat racks average 7 feet tall. Most individuals can stand up and work out without striking their heads on the rack.
2. Width
Most squat racks are roughly 4 feet wide. A lifter may stand and workout within the frame.
3. Depth Or Length
Squat racks are 3–5 feet deep or long (depending on the manufacturer’s specs, depth and length are used interchangeably, but both refer to the same thing in this case). This enables lifters to move about while working out.
4. Upright Spacing
Squat racks may accommodate different barbell heights by adjusting the vertical post spacing. Some racks provide more or less space than the typical 2 inches, depending on the lifter’s demands.
5. Barbell Height
Most squat racks have height-adjustable barbells. The lowest height is 12 inches, and the tallest is 6 feet.
6. Weight Capacity
Most squat racks can carry 500 pounds. Some heavy-duty racks can support 1,000 pounds.
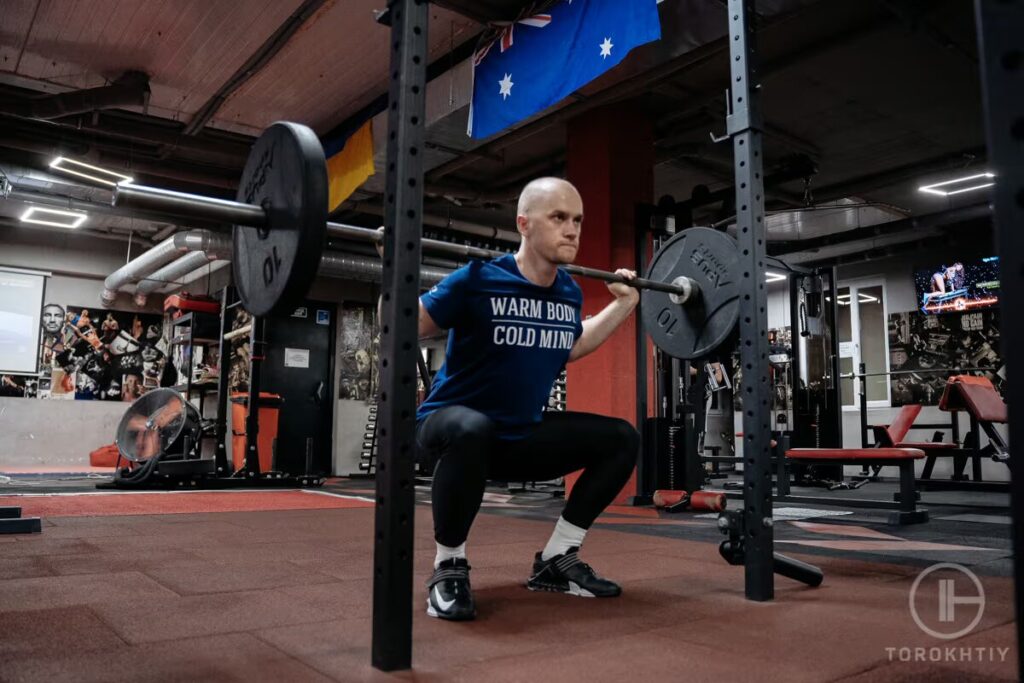
5 Benefits of Using Squat Racks
There are a great many benefits that come with squat racks. If you’re using a squat rack, or are planning on incorporating it in your workouts – it doesn’t hurt to know what these benefits are.
✅ Preventing Injuries, When Failing Lifts
Remember that mention of a squat rack being packed with safety features? Well, they’re there to prevent any potential injury. There are mechanisms like spotter arms that help catch the barbell if you can’t complete a lift, fail to execute one, or lose grip.
✅ Correct Form And Technique
Keeping the correct form is vital for injury prevention. Well, a squat rack plays a big part in helping you maintain proper form because it provides stability and guidance through your workouts. By having a safety bar, instead of thinking of safety, you can put all your focus into your lifting technique (you also won’t need a spotter during heavier lifts).
The J-hooks (where the barbell rests) can be adjusted to a desired height, enabling you to adjust it to the correct starting position. This way, you are doing squats optimally and consistently. This can promote good form.
✅ Improved Stability
Because squat racks provide a stable base, there will be a minimum amount of wobble/movement when lifting. This stability promotes a secure lifting space as well as preventing accidents (especially when lifting heavy).
Sergii Putsov, our expert, energetically shared:
“A squat rack?! If you ask me, that’s the backbone of any training setup. No pun intended. Ha-ha-ha.” — after composing himself, and after being asked what type of squat rack one should acquire, he continued — ”Well, any setup that is trying to be serious anyway. But yeah! Listen, for me, a squat rack needs unshakeable stability. It needs freedom of adjustability. And finally, it needs to be able to fit inside your training space. If you make the right choice when buying a squat rack, then you’re in for some real and serious gains!”.
✅ Storage And Convenience
Most squat racks come with built-in pegs to hold the weight plates. This ensures a clean and tidy workout environment. And because of the pegs’ proximity, you can easily change plates and adjust weights.
✅ Versatility
When you hear ‘squat rack’, you immediately connect it to the squat exercise. But be aware that the squat rack is a multifunctional tool in your home gym or a commercial gym. You can always use it for a wide range of exercises beyond squats (e.g., bench presses, overhead presses, and even pull-ups/chin-ups if the bar includes a pull-up bar).
8 Types of Squat Racks
Squat racks come in a variety of types, each with its own unique features and benefits. Here are some of the most common types of squat racks:
1. Power Racks
Power racks are the most adaptable squat racks because they include a solid frame, adjustable safety bars, and horizontal bars at varied heights. These cost more than conventional squat racks, but serious lifters should consider buying one since they can be used for several workouts.
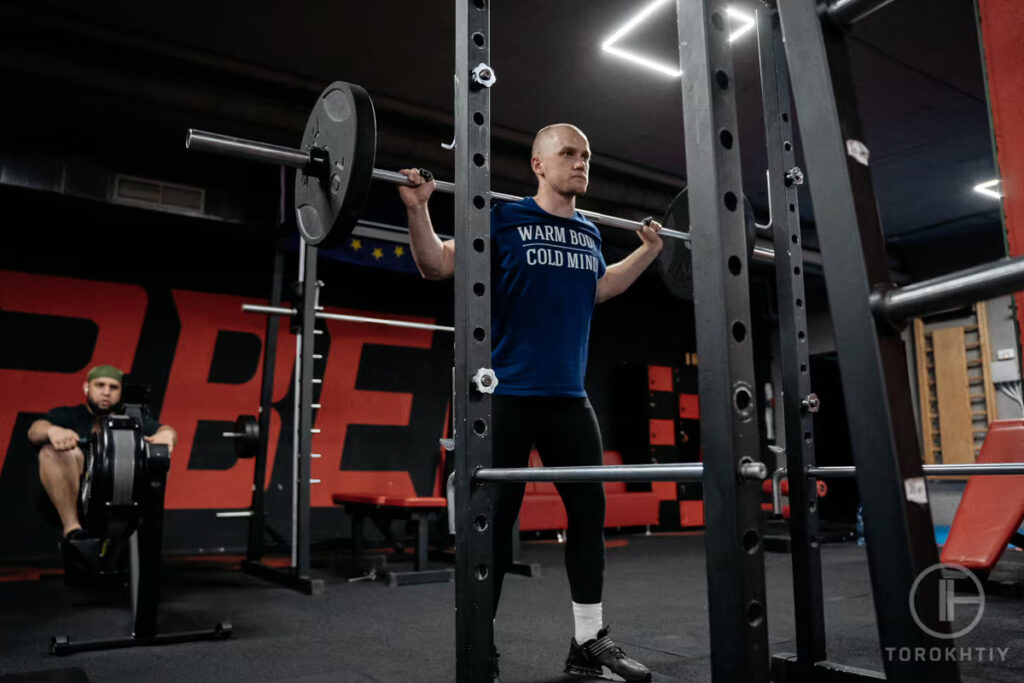
2. Half Racks
Half racks resemble power racks, but are often smaller and less feature-packed. Standard features include two upright posts with horizontal lifting bars, and in some cases, extra attachments or safety bars for activities like pull-ups. They are a reasonable alternative for people who are short on both square footage and cash.
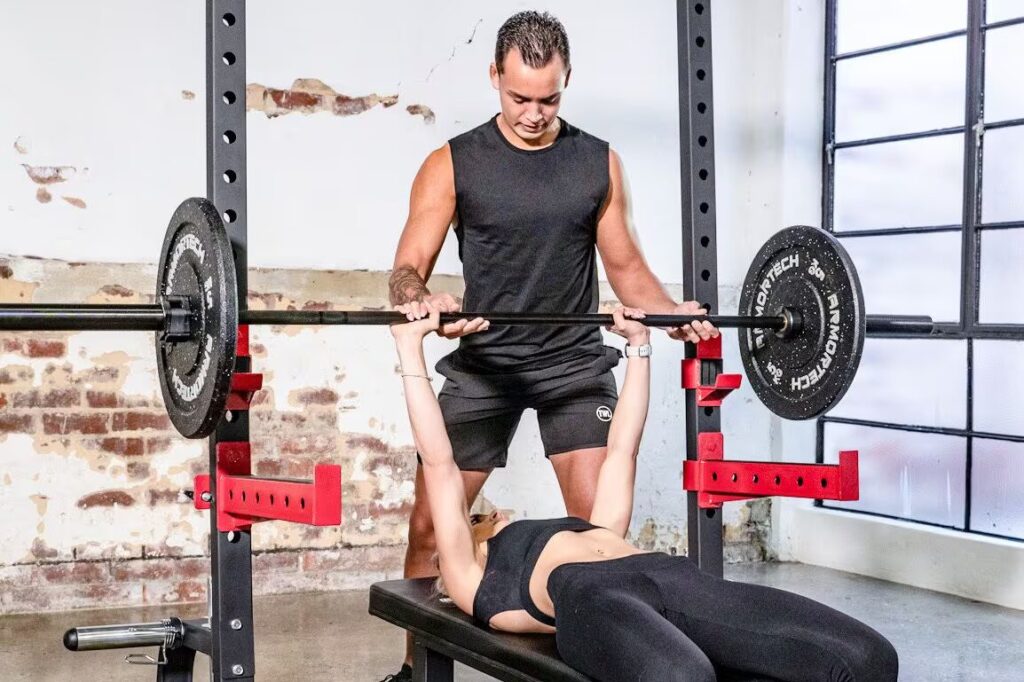
3. Squat Stands
Squat stands are simple and affordable, consisting of two vertical posts with adjustable horizontal bars for lifting. They do not typically include safety bars, making them less safe than power racks or half racks. However, they are a good option for those who want to perform squats or lifts with minimal equipment.
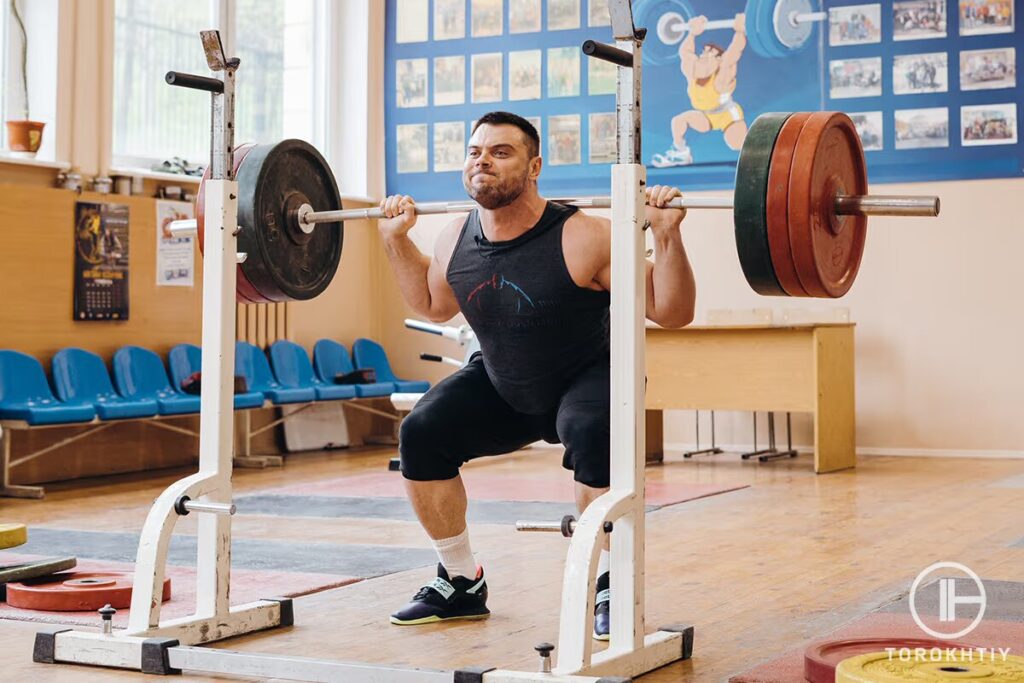
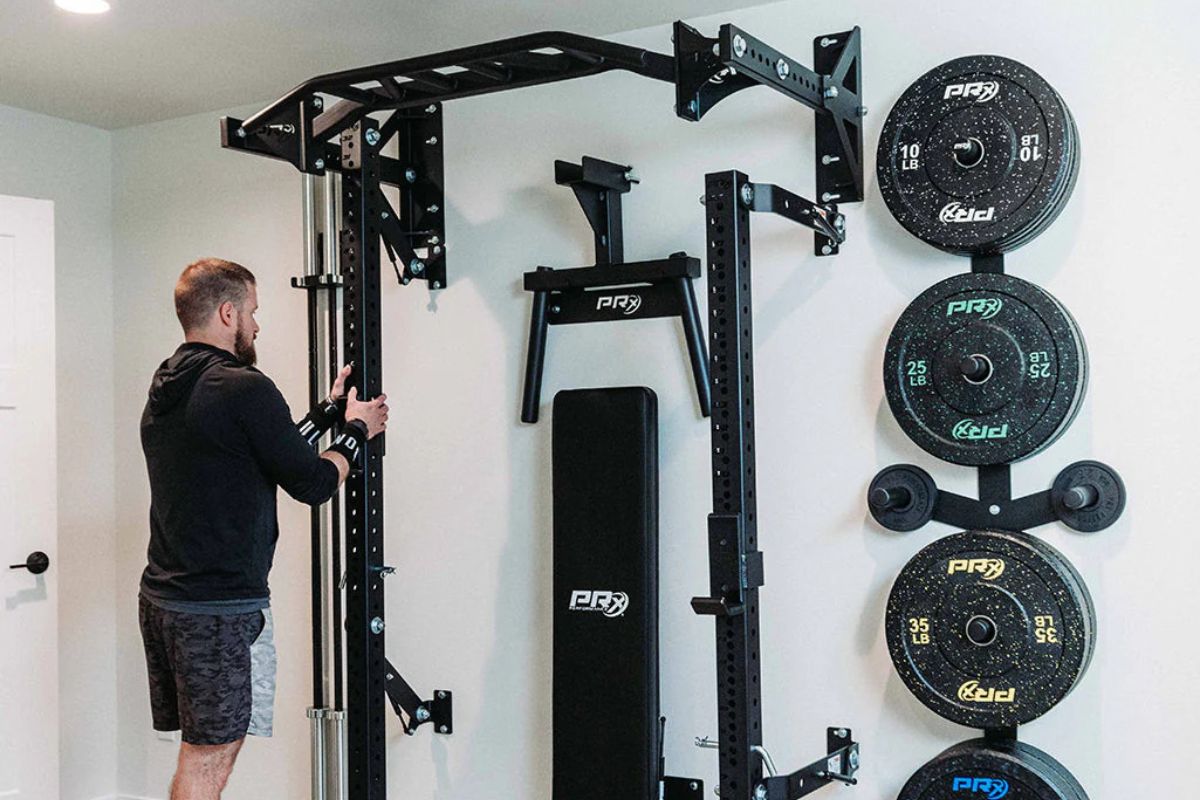
4. Wall-Mounted Racks
Wall-mounted squat racks are a good option for those with limited floor space, as they can be mounted directly onto a wall. They typically have adjustable horizontal and safety bars, but they may need to be more sturdy than other squat racks.
The type of squat rack that is best for you will depend on your individual needs and budget. Power racks are the most versatile and offer the most features, while half racks, squat stands, and wall-mounted racks are more affordable options with fewer features.
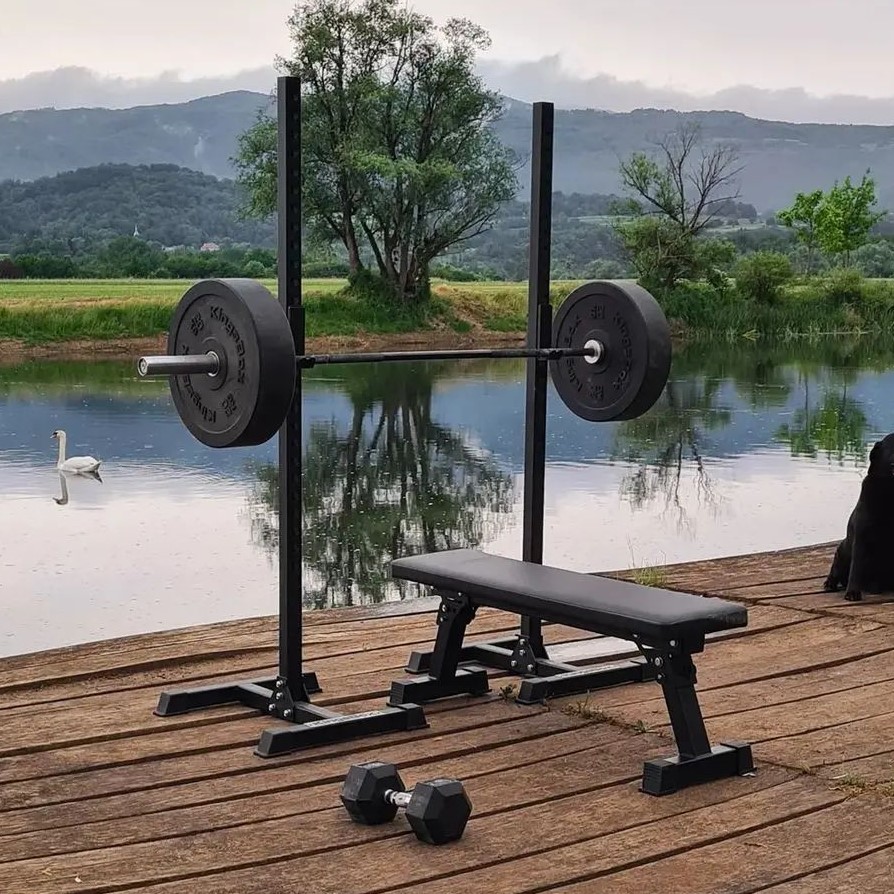
5. Independent Squat Stand
You could say that independent is an upgraded version of a basic squat stand. They are offering more stability and often have a wider base. Both of the stands aren’t fixed, but are instead separate. This offers the user the ability to adjust the width of the squat stand.
This is crucial when using different bar lengths, and doing different exercises. They might not come with safety bars (like some basic squat stands), but these types of squat stands are usually preferred in professional gym environments due to their robust build.
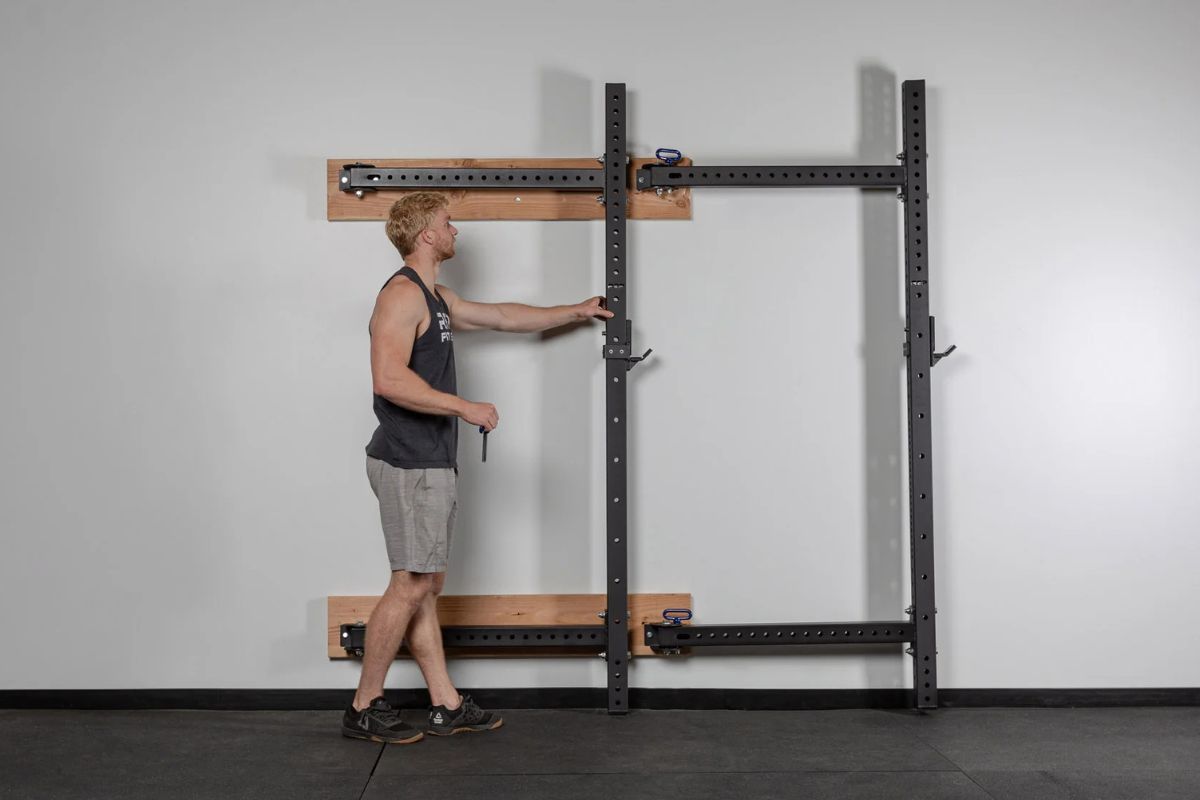
6. Foldable Rack
If you’re limited on space, but still want a squat stand, then the foldable rack might pique your interest. These types of racks were specially engineered to fit in smaller spaces or home gyms (with the intention of saving space). When not in use, foldable racks can be easily folded up against the wall. Foldables commonly come with adjustable horizontal bars and sometimes even include safety bars/arms.
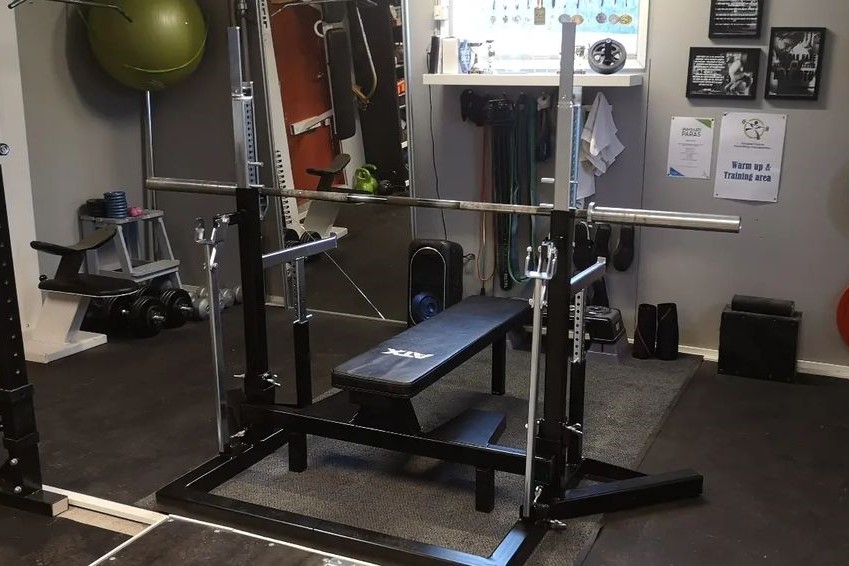
7. Rack And Bench Combo
This is an all-in-one type of solution for those who want to maximize the efficiency of their weightlifting equipment. This combo setup usually includes a squat rack (often resembling a half rack), and it’s combined with an adjustable weightlifting bench. If you want to do more than squats (e.g., bench presses, incline lifts, etc.) this is a very cost-effective solution to meet your lifting demands and needs.
8. Rig
If you take a squat rack and add heavy-duty and multi-functionality to it, then you’re looking at a rig. These giant pieces of equipment often combine multiple squat racks with pull-up bars, ring mounts, and other various attachments.
They are designed for group workouts/circuit training – allowing simultaneous use by multiple people. This is why you are most likely to see a rig in a professional gym. They are space-consuming, and offer unrivalled versatility (when it comes to racks).
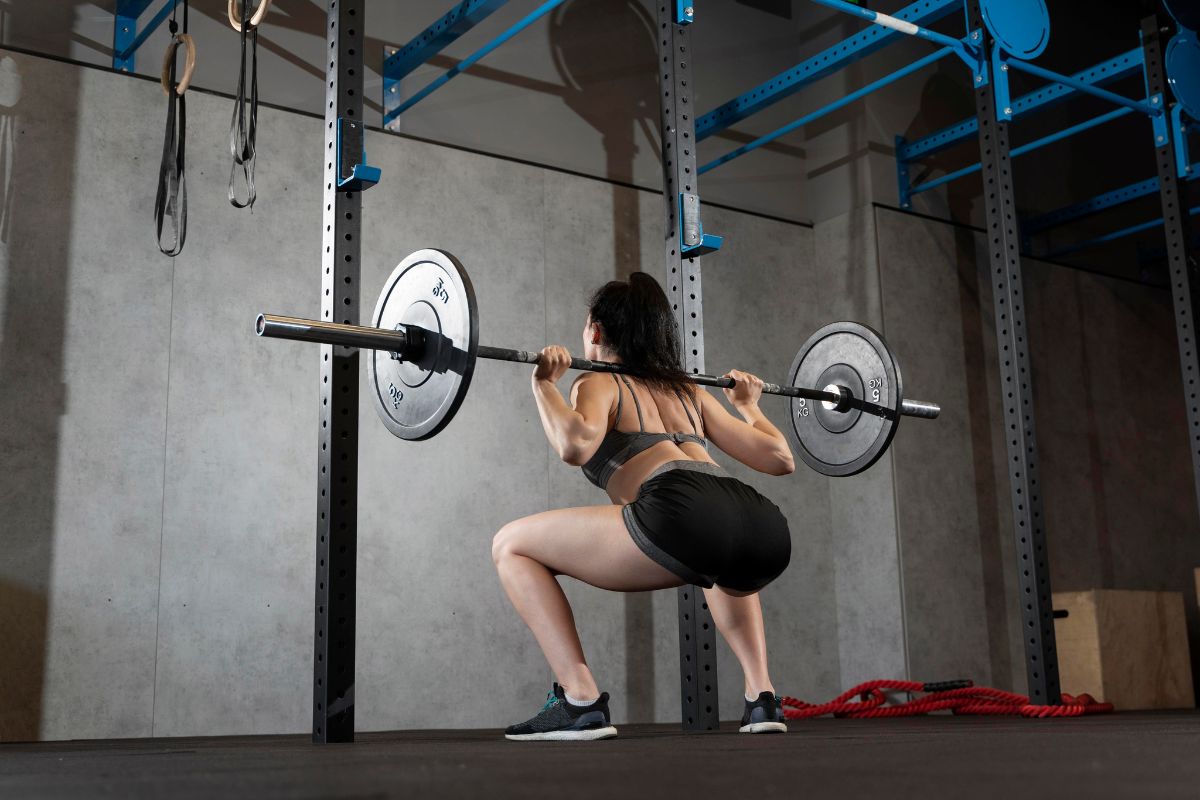
Is a Smith Machine a Type of Squat Rack?
No. Squatting exercises may be performed on both the Smith machine and the squat rack, but these two pieces of equipment are distinct in a number of ways.
A squat rack is a freestanding piece of equipment that consists of two vertical posts with adjustable J-hooks or spotter’s arms to hold a barbell. The lifter stands inside the rack are used to perform squats and presses, and the weight is held only by the barbell and the lifter’s strength.
On the other hand, a Smith machine is a piece of equipment consisting of a barbell that moves along a fixed vertical path on two guide rails. The barbell is attached to a weight stack or plates, which provide resistance.
The lifter stands outside the machine and can perform exercises like squats and presses, but the movement of the bar is guided, making it easier to maintain proper form and reduce the risk of injury.
So while a Smith machine can be used for squatting exercises, it is not a squat rack.
What to Look for in Squat Racks: Buyer’s Guide
There are a number of things to think about while shopping for a squat rack. Prioritize in a manner that matters to you, since you will be the one footing the bill and utilizing the squat rack on a regular basis.
1. Stability
The squat rack you choose should be solid and strong enough to support the weight you want to lift. You should search for versions that have a substantial foundation, robust steel construction, and a reasonable weight while yet being easily portable.
Along with security, stability is crucial. The selection of a squat rack should be made with safety in mind. Try to find versions with safety bars or pins that can be set to catch the barbell in the event of a botched lift. Weight plate storage, non-slip feet, and rubberized grips are some examples of additional safety measures.
2. Versatility
Depending on your fitness goals, you may want a squat rack that can be used for various exercises beyond just squats. Look for models with attachments for pull-ups or dips, or adjustable J-hooks that can be used for bench presses or other lifts. The squat rack should accommodate your individual needs, including the height of the horizontal bars and safety bars. This will ensure proper form and prevent injury.
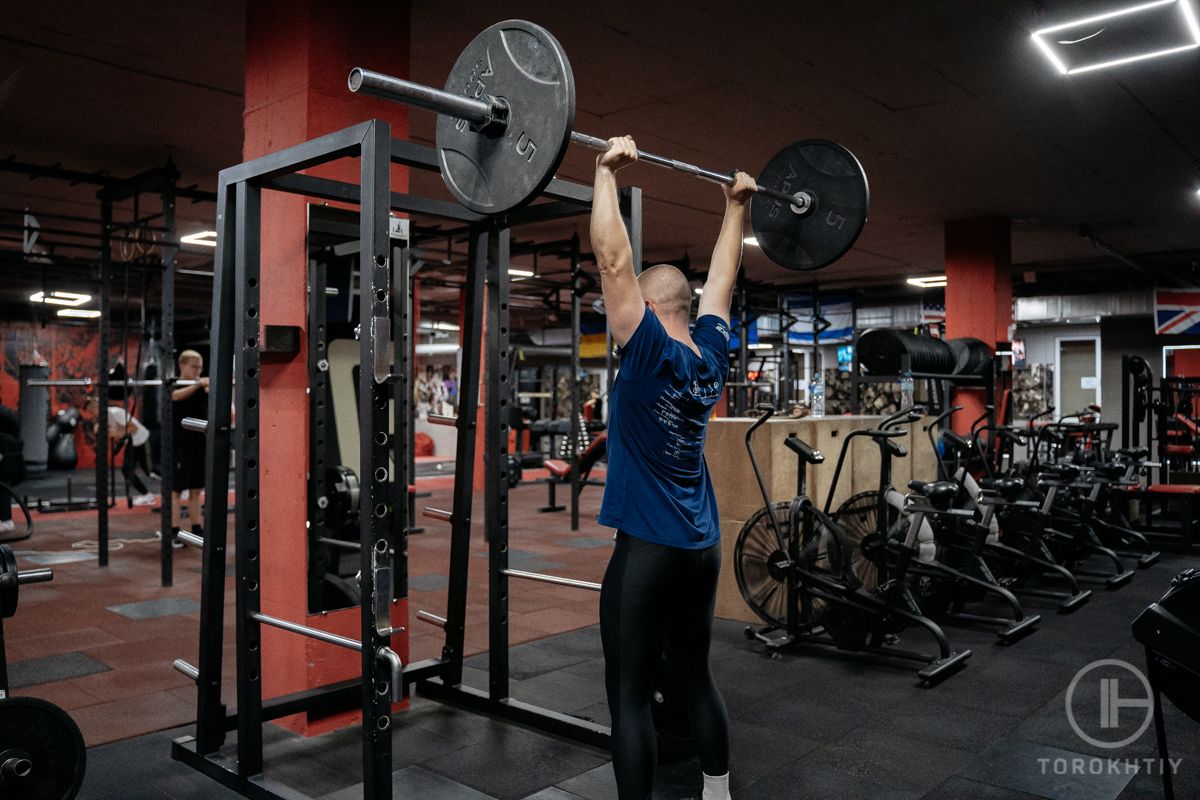
3. Quality
Search for squat racks crafted from sturdy materials like thick steel. The building should be solid and long-lasting, with a load-bearing capability that matches your weightlifting objectives. Make sure the squat rack has good welds. There shouldn’t be any spaces or rough edges that may be seen. The squat rack’s finish should not rust or wear easily.
Powder-coated finishes are common because they are long-lasting and have an uncluttered appearance. The squat rack should have a smooth, even surface without any protruding edges or rough regions that might cause harm. The barbell and weight plates you want to employ will dictate the size of the area.
Thus, it should be large enough for them. Try to choose squat racks with a guarantee from a well-known manufacturer. Peace of mind and safety from potential harm due to faults or damage are two benefits you may get from this.
4. Space
Choose a squat rack that fits your space. Squat rack size depends on the base and upright dimensions. Squat racks depend on the ceiling height. Measure your ceiling and compare it to the squat rack’s height, taking into consideration the barbell and your height. Barbell length affects squat rack space.
Compare your barbell’s length to the squat rack’s horizontal bars. Assess the space needed to maneuver around the squat rack securely and comfortably. This may contain room for weight plates, a bench, or other squat rack accessories.
We’ve asked Jacek what he thinks of Westside spacing on squat racks —
“Westside spacing? Essential. And it’s not even an opinion. Westside gives you the ability of pinpoint precision when doing hook adjustments. You can’t even argue that.” — We have asked about lifting heavy weights — “Just make sure the rack is drilled to the floor. Some people say it’s not needed with every model. No. Just do it. The extra safety and stability will not hurt you. When you’re getting a squat rack you want thickness and durability. For me, that’s non-negotiable. It needs to allow for pin placements suited for resistance band setups.” — And finally, we’ve asked for an expert tip — “Sure, here’s a golden nugget from me: Ensure the rack’s depth is spacious enough to let the user flex and lift inside!”
5. Portability
A squat rack can be your best friend or your worst enemy. If it’s not easily portable, it’s going to be closer to the latter. A lot of racks have foldable designs, which makes them very suitable for small spaces.
Also, look for a rack with built-in wheels. This will make it easy to move around, even if it’s heavy. Of course, lightweight materials are always a plus, although squat racks aren’t really known for being light. But if you find one that is, and that has transportation wheels as well, you’ve hit the jackpot.
6. Value for Money
There is a wide range of costs for squat racks and squat stands – from more affordable versions to more expensive ones that come with more sophisticated features. Establish a budget, and then seek models that provide the greatest combination of features that are important to you. Once you buy a rack, regardless of what you pay for it – it’ll last you a lifetime. So choose wisely!
Squat Rack Evaluation Criteria
| Category | Description | Why Is It Important? |
|---|---|---|
| Stability | The ability of the rack to remain steady and securely hold weights without wobbling. | Ensures safety during workouts. Prevents potential accidents. |
| Versatility | The rack’s ability to support a variety of exercises beyond squats. Also, its ability to have add-ons. | Allows for a varied, full-body workout experience with one piece of equipment. |
| Quality | The materials used in the rack, craftsmanship, and build integrity. | Affects the durability and safety of the rack. |
| Space | Size of the rack (height and footprint) and how much floor space it occupies. | Important for those who are limited in space. |
| Portability | The ease with which the racking can be moved or stored (built-in wheels, weight, foldability, or how easily it can be taken apart). | Good portability ensures that one person alone can move the rack without help. |
| Value for Money | The balance between the cost and all the above-listed features the rack offers. | Helps make sure that you’re getting the best bang for your buck. |
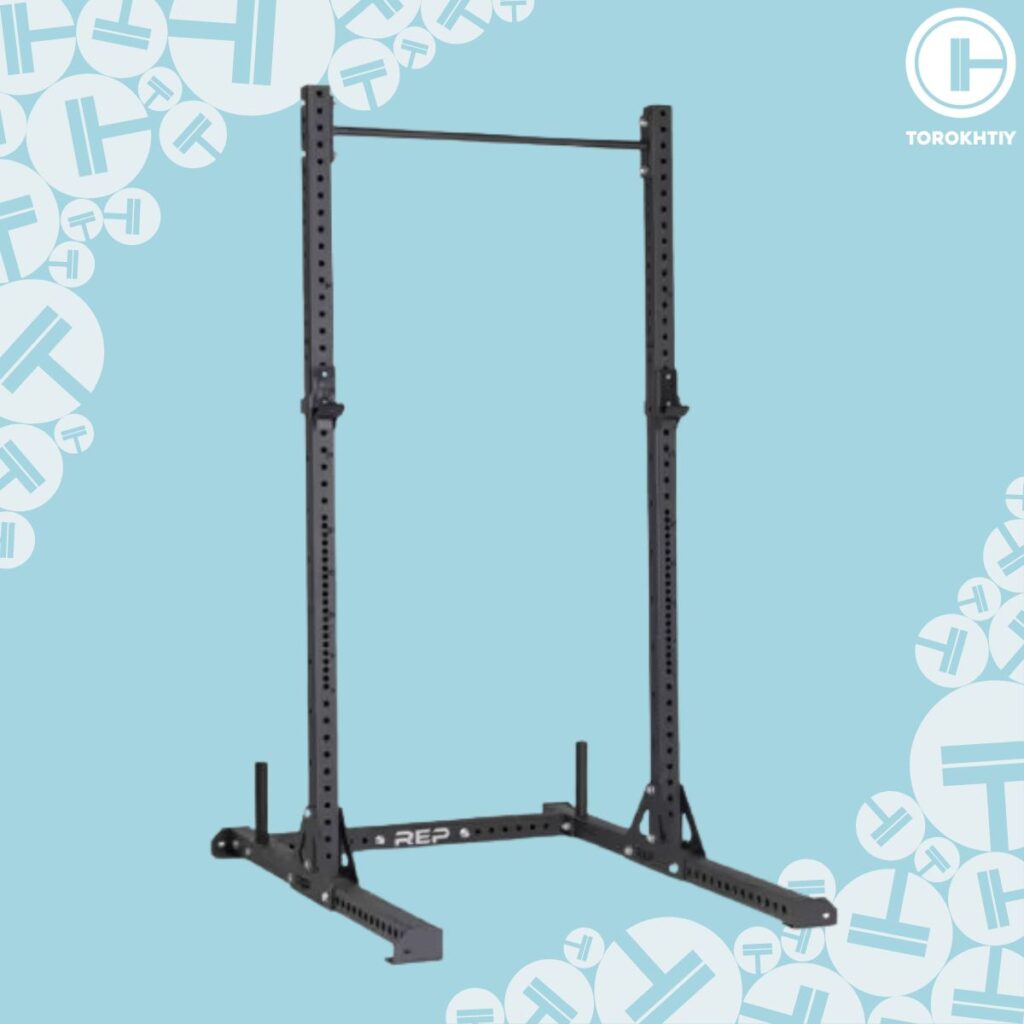
REP SR-4000 Squat Rack
- Height: 96’’ / 103’’
- Width: 52.4’’
- Depth: 71.4’’
- Footprint: 71.4’’ x 52.4’’
- Rackable Capacity: 1000 lbs
- Material: 3×3’’ 11-Gauge Steel
- Hole Spacing: 5/8’’ holes with 1’’(bench area) spacing; 2’’ spacing elsewhere
- Product Weight: 96’’: 203 lbs / 103’’: 237 lbs
- Attachments Included: PR-4000 J-cups and the PR-4000 1.25” Pull-Up Bar
- Warranty: Lifetime Structural Frame
- Weight Storage: No
This heavy-duty squat rack is durable and it comes in two sizes – 96’’(8 ft) and 103’’(8.6 ft). The adjustable J-cups let you set the bar to your preferred height for comfort and safety, while the heavy-duty design ensures stability for all your workouts.
It can support users weighing up to 1,000 pounds and is built to withstand intense exercises because of its robust design. The rack’s height adjustment makes it suitable for users of varying statures, and the frame’s rubberized feet provide a stable training routine regardless of how intense it gets.
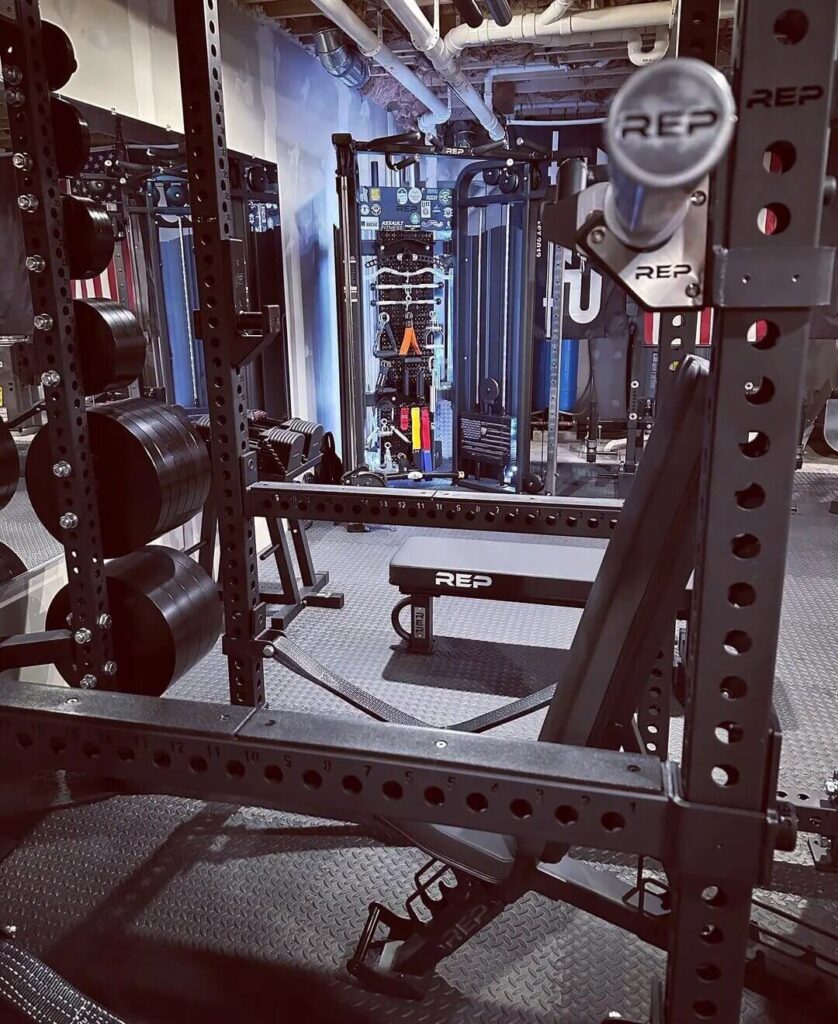
If you’re serious about getting in shape, the REP SR-4000 Squat Rack is a must-have. It’s an excellent option for those who want to push their fitness to the next level because of its solid build, adaptability, and flexibility. This squat rack is perfect for every level of a weightlifter, from novice to expert.
How to Use a Squat Rack: 4-Step Guide
If you’re unsure of how to use a squat rack, here is a concise six-step easy-to-follow guide.
1. Ensure Clear Space
Before you start setting up the rack, you need to find a suitable position. Once you’re sure that the lengths, width, and height (don’t forget the height!) fit in the designated area, you can start clearing out the area and the space around it.
Remove any obstacles or equipment that might be in the way and pose a hindrance during setting up. Or, once set up, during use. Freedom of movement and safety are paramount.
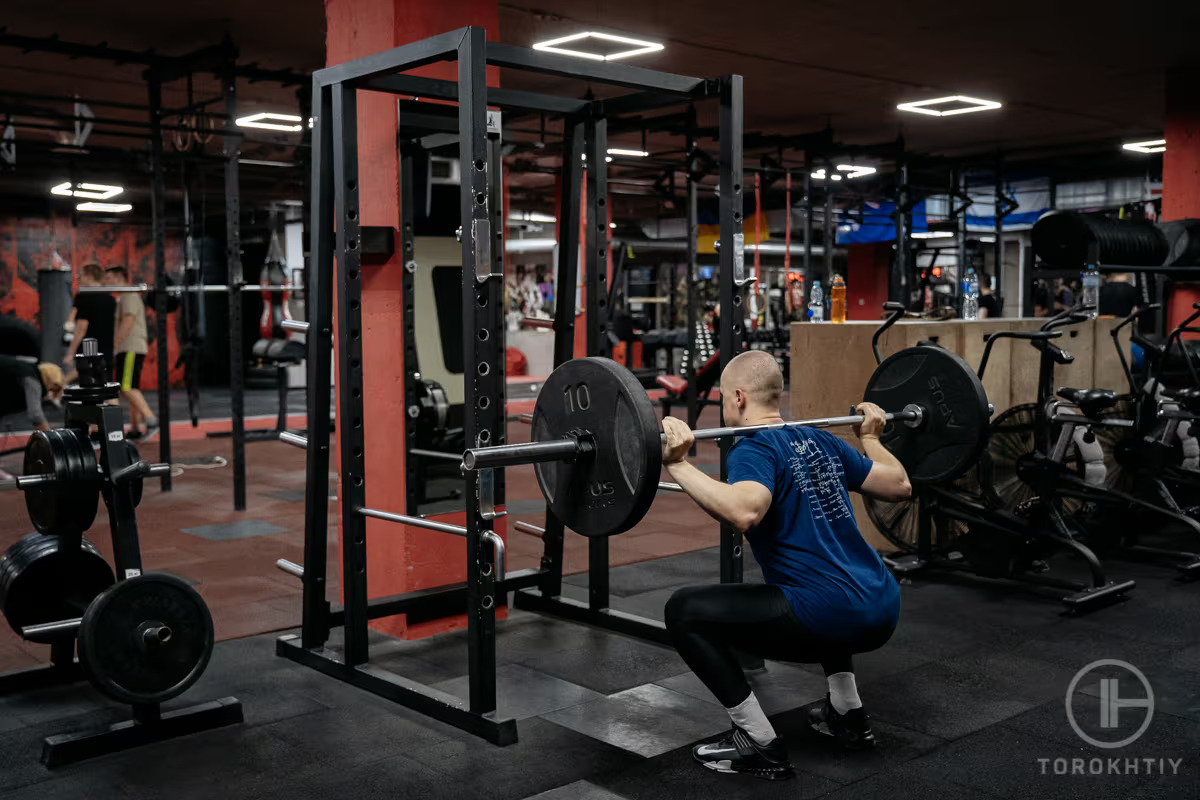
2. Set it Up
A logical start – you need to set the rack up. Position the J-hooks (or safety arms) at a height that’s comfortable and suitable for your workout. The easiest way to determine the right height is with a barbell; it should be at chest level when you’re standing.
3. Adjust the Safety Bars
Set the safety bars or pins at a height where they can catch the barbell if you fail a rep or lose grip. If you are unsure about where to place the safety bar/pins, a foolproof way is to place them just below your squat depth. Positioning it here, you are ensuring that you can safely bail out of the exercise for whatever reason, without the bar crashing onto the ground.
4. Always Re-rack Weights After Use
After Completing the full workout, always remove the weight plates from the barbell and place them in their designated storage area (e.g., storage pegs on the squat rack, weight plate tree, etc.). This not only increases safety, but also helps form good habits, and sharpens your organizational skills.
8 Safety Tips When Using a Squat Rack
Once your squat rack has been set up and you know how to use it correctly, it is wise to consider some (if not all) safety tips that would be greatly beneficial in preventing possible injuries. Beyond ensuring clear space, adjusting the safety bars, and re-racking the plates after use, there are more precautions that you can utilize to maximize safety.
1. Check the Maximum Weight Capacity
Ideally, you will do this before you buy the squat rack. However, once it’s there, it is good to keep in mind the amount of weight that the squat rack can handle.
2. Inspect the Equipment
This is something that you should do at regular intervals, or if you for whatever reason suspect any damage. Check the squat rack for signs of wear, damage, bending, and cracks. Make sure the bolts/fasteners aren’t loose. Check the J-hooks and safety bars are securely in place before use.
3. Load the Barbell Evenly
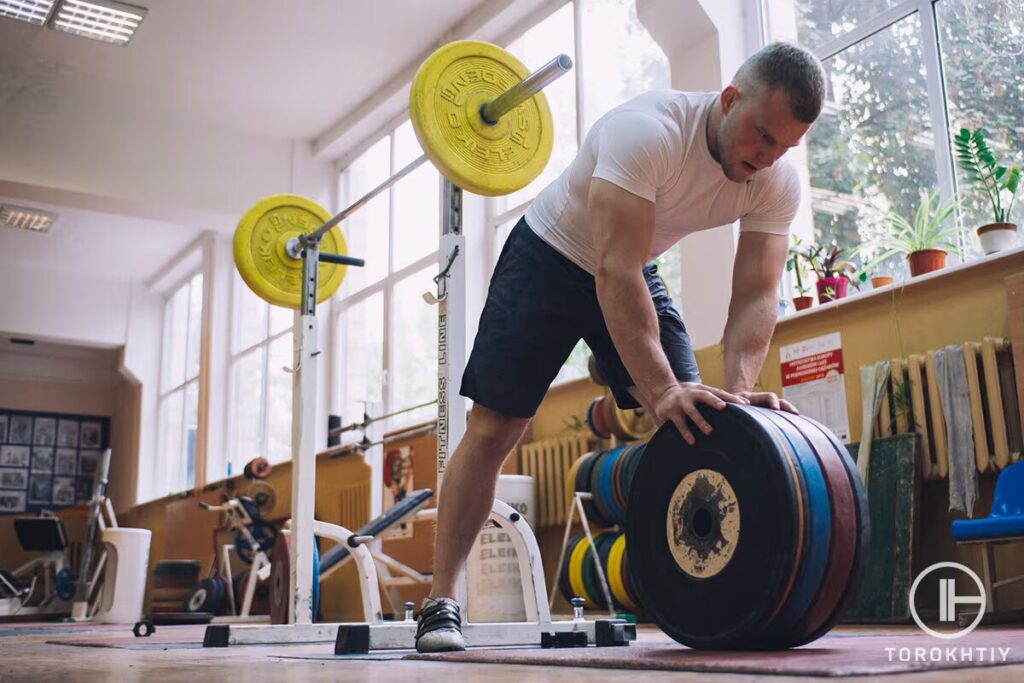
When adding weight plates to the barbell, double-check that you have weight evenly distributed on both ends. Also, ensure that you use collars/clips to secure the weights. This will prevent them from sliding off during workouts.
4. Avoid Overloading
Never load the barbell with more weight than you can safely and confidently handle. Also, again, always be aware of the max weight capacity of the squat rack you’re using.
5. Position the Barbell Correctly for Different Exercises
When using the barbell for exercises that aren’t squats (e.g., bench presses or overhead presses), adjust the J-hooks and safety bars in accordance.
6. Use a Spotter When Necessary
A squat rack is designed and engineered to have a built-in spotter. But, if you’re planning on lifting a weight that’s near your limit, or you’re unsure whether you’ll manage to complete a set, it is a good idea to have a spotter present to assist you. Just in case.
7. Stay Alert and Focused
Avoid distractions when working on a squat rack (particularly when lifting heavy). Stay focused on the movement of your body during the exercise. Be aware of your surroundings – especially when unracking and re-racking the barbell.
8. Exit Safely
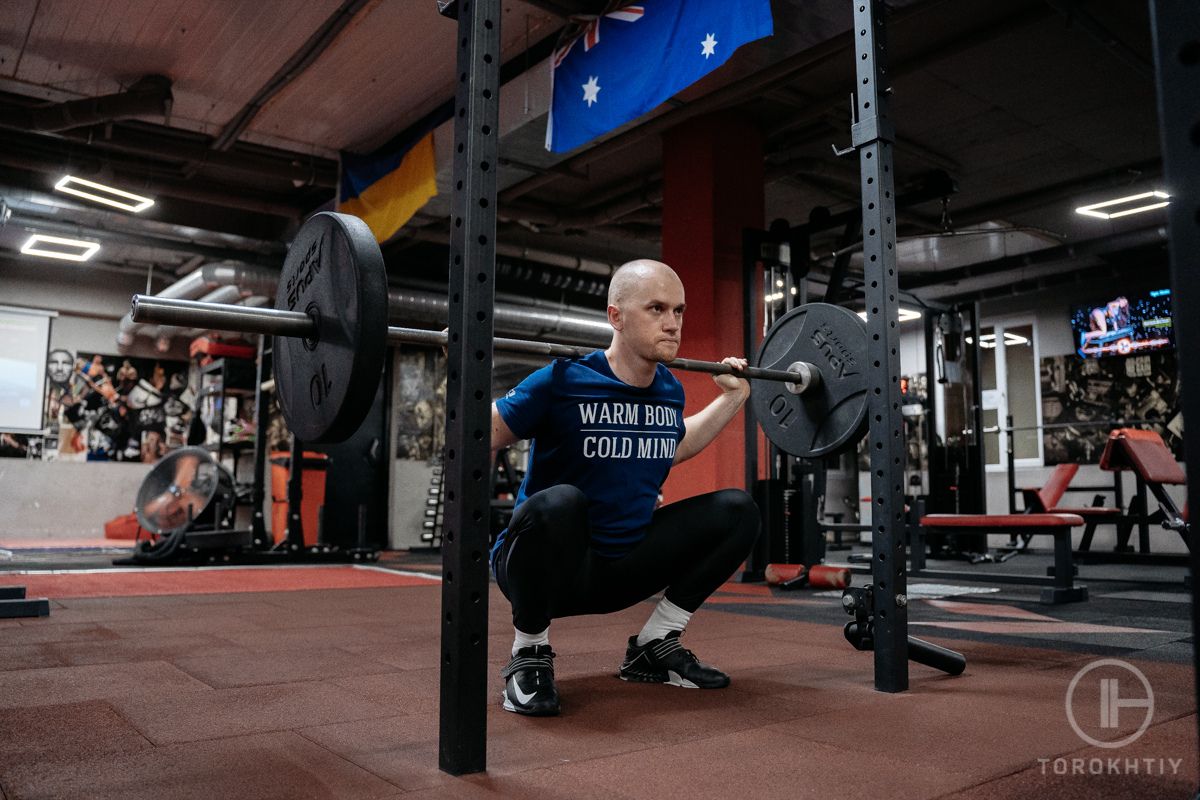
If you’re a newbie, take the time to familiarize yourself with how to safely exit or “bail” from a lift. You can’t learn this the moment it happens, as it will be sudden. To prevent injuries, learn how to safely drop the bar onto the safety bars (primarily if you are not running a spotter).
FAQ
Is a Squat Rack Worth It?
A squat rack lets you lift bigger weights more precisely, improving strength and muscle growth. It will also provide safety and support that other equipment cannot match, lowering injury risk and enabling you to work harder and longer, allowing you to channel your focus and energy toward building muscle. Some people might refer to a rack as the lazy person’s way of doing exercises, but that is a bit misleading.
While a rack does, in fact, take out that safety and ‘thinking about technique’ part of the exercise, it is still a tool. Same as a weightlifting belt. You can choose to use it and make your life easier while you focus on what’s important, or you can do the exercises the hard way – that’s really up to you!
A squat rack may cost more initially, but it may save money over time. A squat rack may replace many pieces of equipment by offering an adaptable and sturdy platform for a wide variety of exercises, saving you money.
Is a Smith Machine as Good as a Squat Rack?
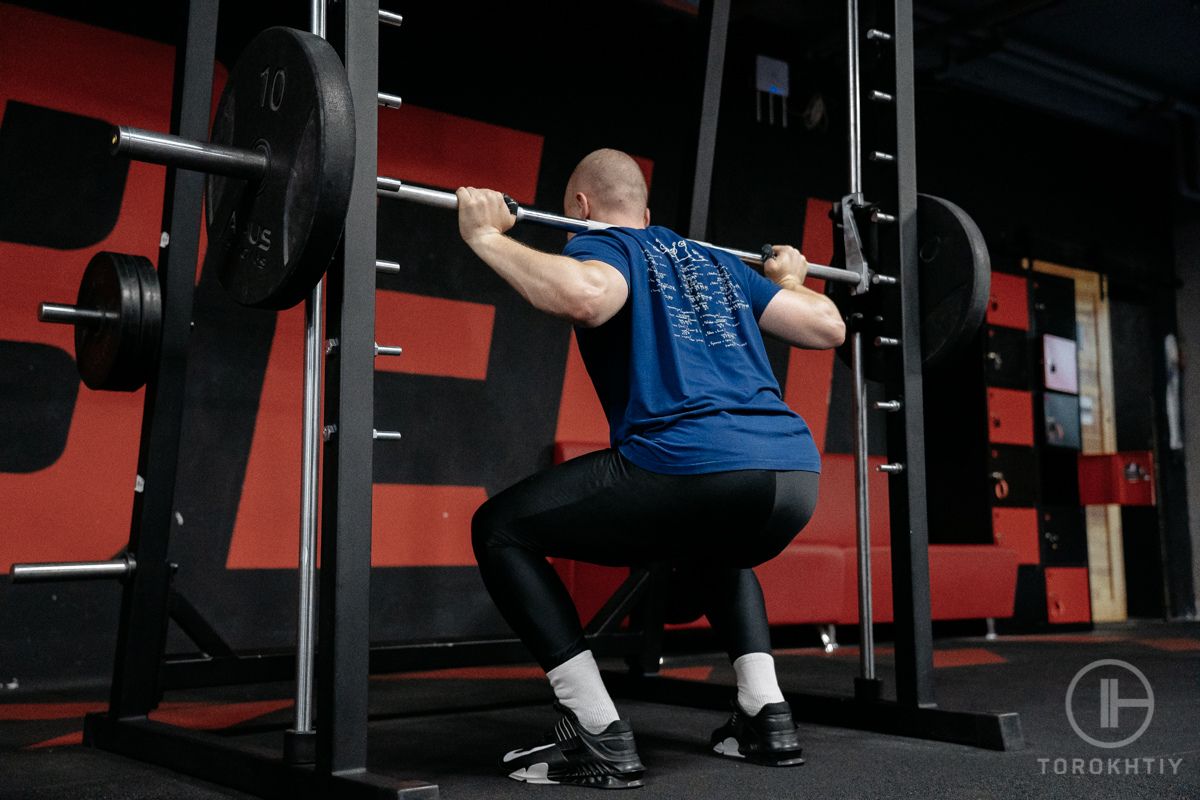
A squat rack is better for strength training than a Smith machine. The Smith machine restricts barbell movement to a set range. This may inhibit muscle group activation and cause muscular imbalances. Squat racks enable a more natural range of motion, utilizing more muscle groups and preventing imbalances.
A Smith machine often requires less stabilization and balance than a squat rack, reducing the overall engagement of your core and other stabilizer muscles. While this may make the exercise more manageable in the short term, it can limit your overall strength gains and increase the risk of injury over time.
While a Smith machine can be helpful, it is less effective than a squat rack for building strength and muscle mass. By providing a natural range of motion, engaging a more comprehensive range of muscle groups, and providing greater versatility and flexibility, a squat rack is a superior choice for serious strength training.
How Much Should I Spend on a Squat Rack?
When buying a squat rack, the amount you should spend largely depends on your needs and budget. Generally, a high-quality squat rack can range from a few hundred to several thousand dollars.
If you’re looking for a basic squat rack with limited features, you can expect to spend between $200 and $500. This type of rack is typically smaller and less versatile than more expensive options but can still provide a safe and effective platform for basic exercises like squats and bench presses.
If you’re looking for a more advanced squat rack with additional features like pull-up bars, dip bars, and weight storage, you can expect to spend between $500 and $1000. These racks offer greater versatility and flexibility, allowing you to perform a broader range of exercises and target different muscle groups. They also likely come with some accessories, and they can be a bit bulkier – so keep that in mind.
Consider a high-end squat rack with advanced features like adjustable J-hooks, band pegs, and safety spotter arms if you’re a severe weightlifter or powerlifter. These racks can cost upwards of $1000 but can provide the ultimate platform for strength training.
The amount you should spend on a squat rack depends on your individual needs, goals, and budget. By considering factors like rack size, additional features, and overall quality, you can find a squat rack that fits your needs and budget.
Will a Squat Rack Fit Inside My Home?
Whether a squat rack will fit inside your home largely depends on the size and layout of your space and the frame itself. Before purchasing a squat rack, it’s essential to measure the available space in your home to ensure that the rack will fit comfortably and allow you to move freely while performing exercises.
In general, squat racks come in various sizes and configurations, so choosing a rack that is appropriately sized for your space is crucial. A basic squat frame typically measures around 4-5 feet in width and 4-6 feet in height, while larger racks with additional features like pull-up bars or dip bars may measure up to 7-8 feet in height.
For your own safety, place the rack where it will enable you to execute exercises without running into anything, and give yourself plenty of space around it. Use a collapsible or otherwise readily stowed squat rack if you’re short on storage space at home, or one that can be mounted on a wall.
Can I Install a Squat Rack Myself?
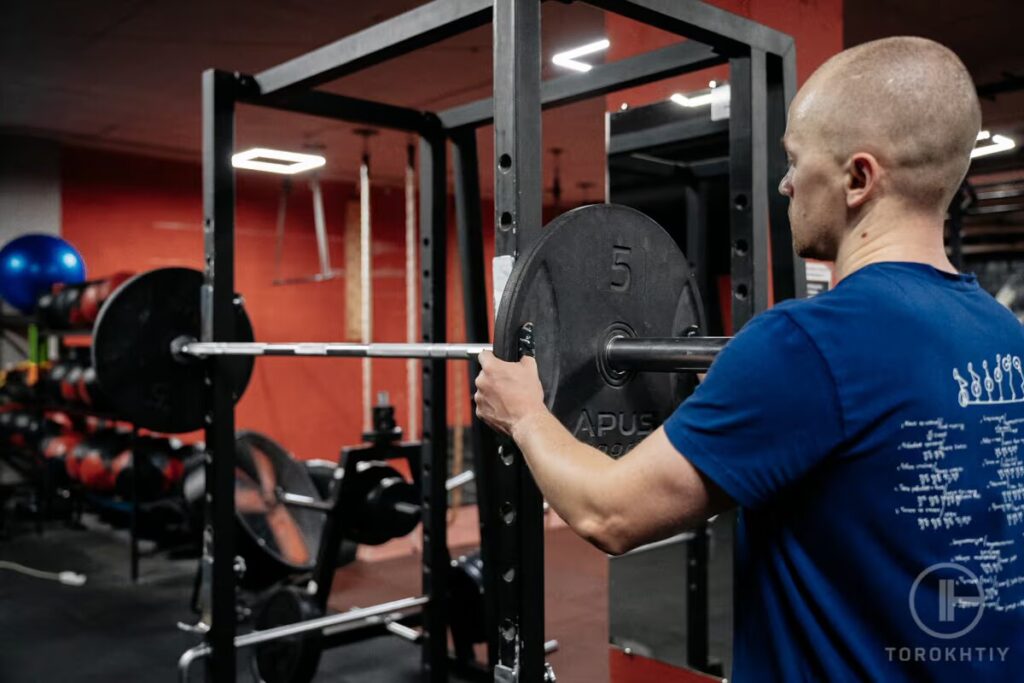
While installing a squat rack may seem daunting, you can do it yourself with the right tools and knowledge. Follow the manufacturer’s instructions, or if in doubt, call the manufacturer or refer to an instructional assembly video.
It is essential to keep in mind that improper installation can result in serious injury.
Finding a solid spot to install a squat rack is the first step. When choosing a training spot, check the ground for obstructions.
Following the directions, assemble the squat rack. This usually involves attaching the uprights to the base, assembling the J-hooks and safety bars, and installing any additional equipment like a pull-up or dip bars.
After assembling your squat rack, secure it to the ground or a wall, so it doesn’t fall over. Anchors or bolts are used to secure the rack.
While installing a squat rack yourself can be a rewarding and cost-effective option. It is essential to take the time to learn the proper techniques and follow the manufacturer’s instructions carefully to ensure your safety and the safety of those around you. If you are unsure about your ability to install the squat rack properly, seek the assistance of a professional installer.
What Is The Difference Between A Squat Rack And A Squat Stand?
A squat rack is more comprehensive, while a squat stand is simpler. Squat racks come with safety bars and will allow you to use heavier weights and perform a greater variety of workouts. Squat stands typically don’t have safety bars and are better for lighter weights and basic squats.
Conclusion
There are a number of elements to think about while deciding on the finest squat rack. While shopping for a squat rack, it’s crucial to think about the kinds of exercises you want to do, how much room you have in your home gym, and how much money you want to spend. But it’s probably not simple to know where to begin when there are so many choices on the market.
The features, size, stability, and weight capacity of a squat rack are some of the most essential aspects to think about. A good squat stand will be built to last and will provide you with a solid platform for your exercises; a rack of the right size will fit easily into your home gym.
Additional features like pull-up bars or dip bars can help to expand the range of exercises you can perform with your squat rack, while other features like weight capacity and adjustability can help to customize your workout experience.
REP SR-4000 SQUAT RACK has everything you would want from this type of equipment. It checks all the right boxes, and while what I like and think is essential to squat racks is subjective, I believe that if you decide to get one and choose this one, you’ll definitely not regret it!
If you have already used the squat rack I recommend or you’re still browsing to see what you want to get, please share your thoughts via the comment section below. I would be delighted if you would share your experience and tell me if the information in this article helped you get the right one for you.
I’d be glad to hear your opinion on the differences you have experienced!
Experts Who Contributed To This Article
20 years of Oly Lifting & Training experience
M.Sc.Eng. Biotechnology, Sports Nutritionist

Also read:
References:
- Debbie Luna, “Smith Machine vs the Squat Rack: Benefits, Muscle Synergy, and More,” Inspire usafoundation, https://www.inspireusafoundation.org/smith-machine-vs-squat-rack/ (Accessed Mar 13, 2023)
- Chloe Gray, “How to set up a squat rack,” stylist, https://www.stylist.co.uk/fitness-health/workouts/how-to-set-up-squat-rack/543596 (Accessed Jun 12, 2020)
- OLIVIER POIRIER-LEROY, “Squat Rack vs Smith Machine: Pros, Cons, and Best Time to Use Each,” yourworkoutbook, https://www.yourworkoutbook.com/squat-rack-vs-smith-machine/
- “7 Tips on Safely Assembling and Using Your Squat Rack,” akfit, https://www.akfit.com/blogs/own-your-fitness/7-tips-on-safely-assembling-and-using-your-squat-r/ (Accessed Jan 7, 2022)
- “THE ULTIMATE SQUAT RACK GUIDE,” morgansports, https://www.morgansports.com.au/guides/the-ultimate-squat-rack-guide/ (Accessed Feb 15, 2021)
- OLIVIER POIRIER-LEROY, “Power Racks vs Squat Racks: Pros, Cons and Differences,” yourworkoutbook, https://www.yourworkoutbook.com/power-rack-vs-squat-rack/
- Keith Hansen, “How to Perfect Your Bench Press Setup,” seriouslystrongtraining, https://seriouslystrongtraining.com/how-to-perfect-your-bench-press-setup/
- Photos are made by Torokhtiy Media Team; GRIND Fitness, thegrindfitness.com; Gamma Fitness, gammagym.com; Freepik, Freepik.com; PRx Performance, prxperformance.com
Why Trust Us?
With over 20 years in Olympic weightlifting, strength training, nutrition coaching, and general fitness our team does its best to provide the audience with ultimate support and meet the needs and requirements of advanced athletes and professional lifters, as well as people who strive to open new opportunities and develop their physical capabilities with us.
By trusting the recommendations of our certified experts in coaching, nutrition, and sports training programming, as well as scientific consultants, and physiotherapists, we provide you with thorough, well-considered, and scientifically proven content. All the information given in the articles concerning workout programming, separate exercises, and athletic performance, in general, is based on verified data.
The product testing process is described in more detail here.
Author: Ihor Shymechko
Pro Olympic Weightlifter, Coach
Best Results: Snatch – 208 kg,
C&J – 240 kg
Ihor has been a professional weightlifter since 1996, boasting over two decades of competition experience. His notable achievements include clinching the European Championship in 2009 and securing a silver medal in the 105kg division at the Senior World Championships in 2011. Ihor represented his country in the 2008, 2012, and 2016 Summer Olympics. After retiring from competitive weightlifting, he transitioned to coaching, leveraging his vast experience to guide athletes who now compete on both national and international stages.
Reviewed by: Oleksiy Torokhtiy
Olympic Weightlifting Champion, PhD in Sport Science
Best Results: Snatch – 200 kg,
C&J – 240 kg
Oleksiy Torokhtiy is a professional athlete boasting 20 years of experience in Olympic weightlifting. With multiple European and World titles under his belt, he has showcased his prowess in two Olympic Games (Beijing 2008 and London 2012). Upon concluding his illustrious career, Oleksiy dedicated himself to coaching. By 2022, he had conducted over 200 weightlifting seminars worldwide. He is the visionary behind an international sportswear and accessories brand known for its motto, “Warm Body Cold Mind.” Additionally, he is an esteemed author and the creator of a series of training programs and eBooks.





Still have questions after reading our article? Unlock your full potential by engaging with our experts and community! Don’t hesitate — leave a comment below and Ihor Shymechko will provide a personalized answer and insights to help you reach your goals.