7 Deadlift Progressions For Improved Technique & PR
Author:
Reviewed by:
(21 years of Oly Lifting experience)
Unlock your full potential by engaging with our experts and community! Have questions about your fitness journey or looking for expert advice on weightlifting techniques? Don’t hesitate — leave a comment below and Sergii Putsov will provide a personalized answer and insights to help you reach your goals.
Torokhtiy is reader-supported. Some links are affiliate links, and we may earn a commission at no extra cost to you. See our disclosure page for details.
Deadlifts are a vital part of multiple training programs, especially powerlifting. But, if you’re a seasoned lifter, you can lift much more than someone just starting their powerlifting journey. A deadlift progression is normally the best way to improve your lifting capacity safely. But what exactly is deadlift weight progression, and how can you incorporate it into your training routine?
Deadlift weight progression is a standard way to slowly introduce yourself and your body to the art of deadlifting. A good deadlift progression program will start you off with hip hinges and gradually move you toward the actual deadlift.
When following a progression program, you must perfect each stage of the program before moving on to more advanced levels.
Continue reading this article to learn how to perform and perfect your deadlifts, whether you’re a beginner or a seasoned powerlifter.
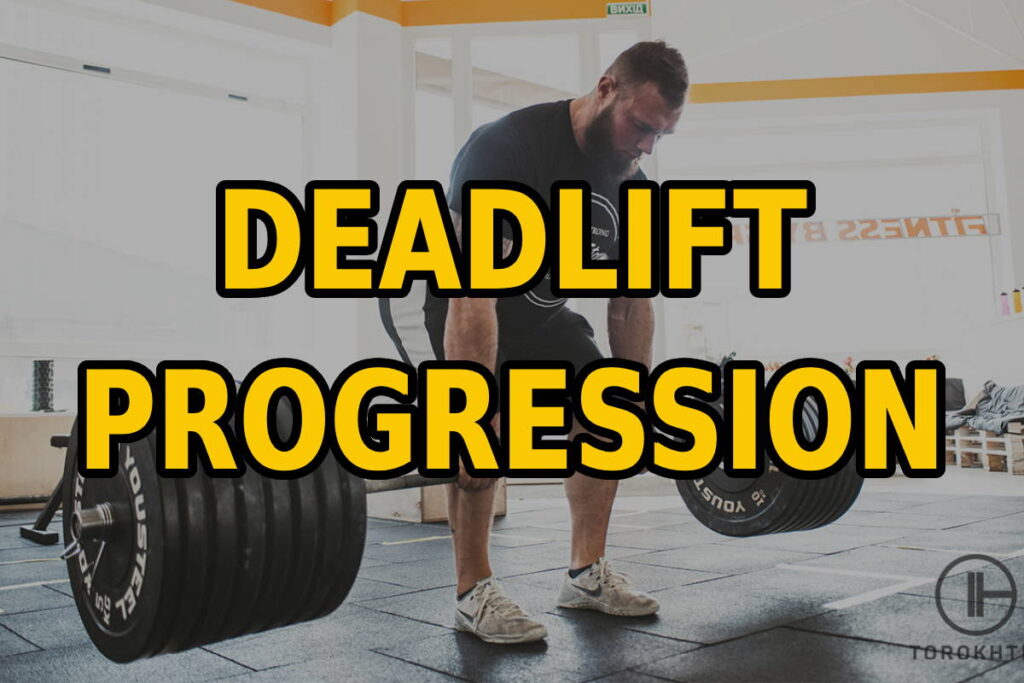
Deadlift Progressions From Beginner To Advanced
Deadlifts are a great compound exercise that can help you gain muscle mass, strength, power, and core stability. But many athletes avoid doing deadlifts at a beginner level due to fear of hurting their lower back.
This is where a deadlift progression program can prove to be beneficial. Following deadlift progression is a great way to strengthen your whole body safely and sustainably, especially the hamstrings and lower back.
Deadlifts don’t require complicated equipment and can easily perform at home or the gym. Not only do they help with power, but they’re also a great way to burn fat and improve cardiovascular health.
Although extremely beneficial, deadlifts are also risky exercises if not done properly, but that’s a risk that pretty much every exercise holds. This risk increases multiple folds if you lift more than your body allows at an early stage. Plus, the negative phase is when you have the highest risk of injury since you have no eccentric control.
This is why it’s always wise to start with a beginner deadlift workout and slowly increase your weights. You should always begin with perfecting your hinge technique and Kettlebell lifts.
Once mastered, you can move towards rack and block pulls and, finally, the conventional deadlift.
Changing their training routine with Romanian and sumo deadlifts for more advanced powerlifters adds fun and more challenging variation to the program.
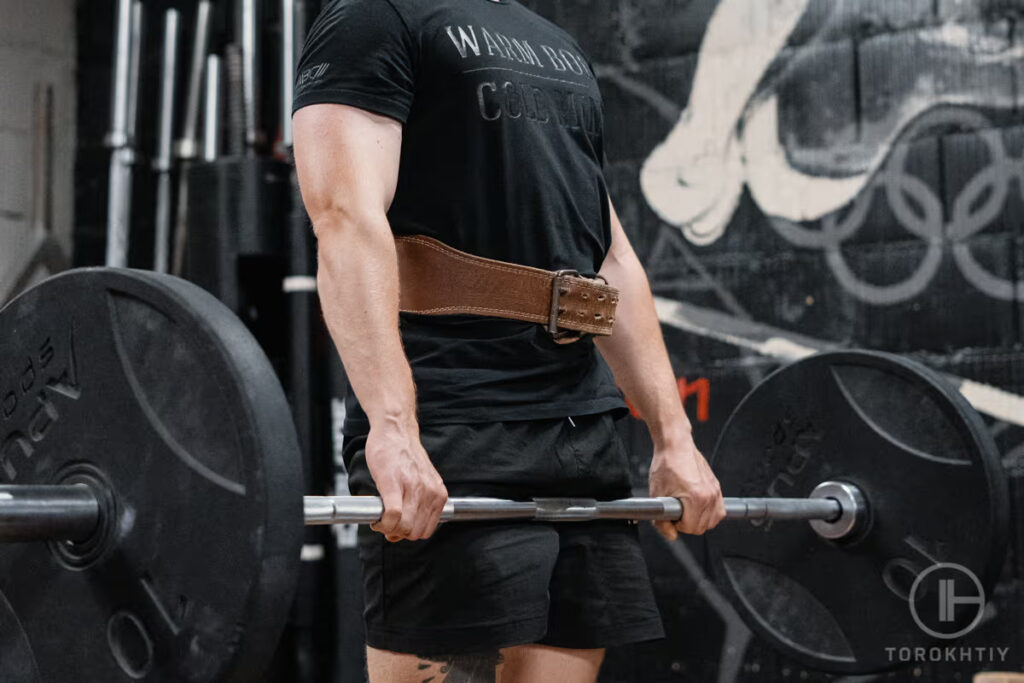
1. Perfect Your Hinge
Before you start deadlifting, it’s important to perfect your technique. Not only will this minimize injuries, but it will also help you get the most out of your workout.
Mastering the hinge is the first and most important step for a beginner that’s most commonly overlooked. A great way to learn this is through a dowel or stick.
Performing a dowel hip hinge helps you properly hinge at your hips and ensures your spine remains straight. Both of these are vital components of a proper deadlift.
How To Do It?
- Step 1: Take a long dowel stick (approximately the size of a broom handle) and place it on your back, along the length of your spine, with one hand holding it at your upper back and the other holding the stick at the lower back.
This ensures that while practicing your hip hinge, your spine remains straight.
- Step 2: While keeping the stick in this position, come into a shoulder-width stance and slowly bend your knees to turn your chest forward.
Your hips should stay lower than your shoulders but still above squatting level.
- Step 3: Push on the floor with your legs and squeeze your glutes medially to return to a straight standing position.
2. Introduce A Kettlebell
After mastering the hinge, the next step in your deadlift progress is to do lightweight lifting using a kettlebell.
This added weight will help you strengthen your posture while maintaining your position and also help you learn how to keep the load close to your body at all times.
Follow us!
Free!
Get a 2-week Weightlifting Program as a bonus for the subscription to kickstart your training plan!

Free!
How To Do It?
- Step 1: Put the kettlebell on the ground with your feet shoulder-width apart. Now hinge and bend your knees to grab the kettlebell with straight arms.
Now lift the kettlebell and squeeze your armpits to tighten your Latissimus Dorsi.
- Step 2: Now squeeze your glutes and push down on the ground while returning to a straight standing position.
While standing straight, ensure your arms are lengthened, and your shoulders remain straight. Do not shrug your shoulders or relax your Lats.
Your knees and hips should remain locked in their position, and your back should remain straight. Do not arch your spine.
3. Rack Pulls
Once you’ve got posture and spine stable, the next step is to introduce a barbell. This is where the deadlift workouts start getting a lot more fun.
Rack Pulls are important for lifters in the initial phases of their lifting journey and still lack a full range of motion. They focus more on helping you lock out your weight while keeping your spine neutral.
In a normal deadlift, you must fully bend down to pick and drop the barbell, but in rack pulls, you can leave the barbell at a higher position on the rack. Since you don’t have to bend to put down the barbell fully, the negative phase is reduced, and your chances of injury also decrease.
Trainers usually start you off by putting the barbell at a higher position on the rack and slowly decreasing the height as your range of motion improves.
How To Do It?
- Step 1: Adjust the pins of the rack so that the barbell is at your knee level, and stand opposite it with your feet shoulder-width apart.
- Step 2: Now, hinge and bend your knees to grab the barbell. Ensure your arms remain straight and you’re gripping the bar outside the legs.
- Step 3: Tighten your Lats and squeeze your glutes while pushing down at the ground to lift the bar.
Ensure that your shoulders remain straight and your knees are locked out.
- Step 4: Finally, unlock your knees, hinge back, and put the bar down to its original position on the rack.
4. Block Pulls
Once you’ve significantly improved your range of motion, the next step in deadlift progression is to move onto block pulls.
These use the same principle as the rack pulls, except now you must bend lower to lift and reposition your barbell.
How To Do It?
- Step 1: Stack up blocks or plates so that the barbell is positioned at the level of your mid-shin.
- Step 2: Stand with your feet shoulder-width apart, close to the barbell, so the bar seems to cut your shoes in half.
- Step 3: Now, following the same hinging technique, bend your knees to lift the barbell. Keep your Lats tightened and your glutes squeezed medially.
- Step 4: Lift the barbell to the level of your thighs while keeping your arms straight throughout.
- Step 5: Reverse the movement, unlock your knees, and hinge on putting the barbell back on the blocks/plates.
5. Conventional Deadlift
After you’ve got good practice on the rack pulls and block pulls, it’s finally time for you to perform the conventional deadlift.
This is the deadlift that powerlifters must perfect if they want to compete in weightlifting competitions.
How To Do It?
- Step 1: Load your bar with bumper plates if you use lesser weights (i.e., less than 45 lbs per side). This ensures that your bar remains at a good height.
- Step 2: Now stand shoulder-width apart at the same distance from the bar as in the block pulls.
- Step 3: Hinge your hips, bend your knees, and straighten your arms to lift the bar from its resting position to your thigh length (keep your arms straight and your spine neutral).
Keep your armpits squeezed so that your Lats remain tightened. Your back should stay unarched since an arched back can lead to a potential risk of injuries.
- Step 4: Now reverse all the above steps, and unlock your knees and hinge to return the bar to its position.
6. Romanian Deadlift
The Romanian deadlift is the next step for athletes and powerlifters that have mastered the deadlift and are looking for something more advanced and challenging.
These deadlifts follow the same technique as conventional ones, but your glutes and hamstrings remain constantly activated. This is because there is no pause between the reps, and you must keep the barbell off the ground the entire time.
More seasoned powerlifters usually practice this kind of deadlift to build extra muscle mass, especially in the posterior chain.
How To Do It?
- Step 1: Position yourself in the same way as you would for a conventional deadlift. Knees bent, hips hinged, spine neutral, and arms straightened.
- Step 2: Lift the barbell until approximately mid-thigh level while ensuring your arms remain straight.
- Step 3: Lower the bar until about mid-shin level, bending your knees and slightly hinging.
- Step 4: Now raise it back up to thigh level from this position and repeat as many times as the set requires.
Note: This exercise can also be altered for more targeted control on each leg. For single-leg deadlift progression, try using heavier kettlebells instead of barbells if you’re a beginner and slowly increase your way towards heavier barbells
7. Sumo Deadlift – With And Without Blocks
Another great deadlift that’s more advanced is the Sumo Deadlift. Athletes and powerlifters usually incorporate this into their standard lifting routines to challenge themselves more.
Since a Sumo deadlift requires you to stand at a wider stance, your posture and lifting technique must also change.
This is why most powerlifters start with blocks to get accustomed to the wider stance that the sumo deadlift requires.
How To Do It?
- Step 1: Stand with your legs wider than shoulder-width apart and keep your shins straight. Keep your toes pointed outwards so your knees do not touch the barbell.
- Step 2: Once in position, hinge at your hips, bend your knees, and extend your arms to lift the bar.
The point at which you grab the bar should align with your shoulders.
- Step 3: Tighten your lats, squeeze your glutes while you lift to the bar, and ensure that your knees are locked out. Lift it till about thigh length while keeping your arms straight.
- Step 4: Now reverse your position to bend back down, hinge your hips, and lower the barbell onto the ground (or blocks).
How to Know When to Progress to a Harder Deadlift Variation?
It’s important to start from the basics whenever you’re trying out a new activity or sport. The same applies to deadlifts or the single leg deadlift progression. You should always begin by perfecting your posture for the deadlift.
Once you’ve accomplished the right posture, you can move on to stabilizing your core and then move to a conventional deadlift.
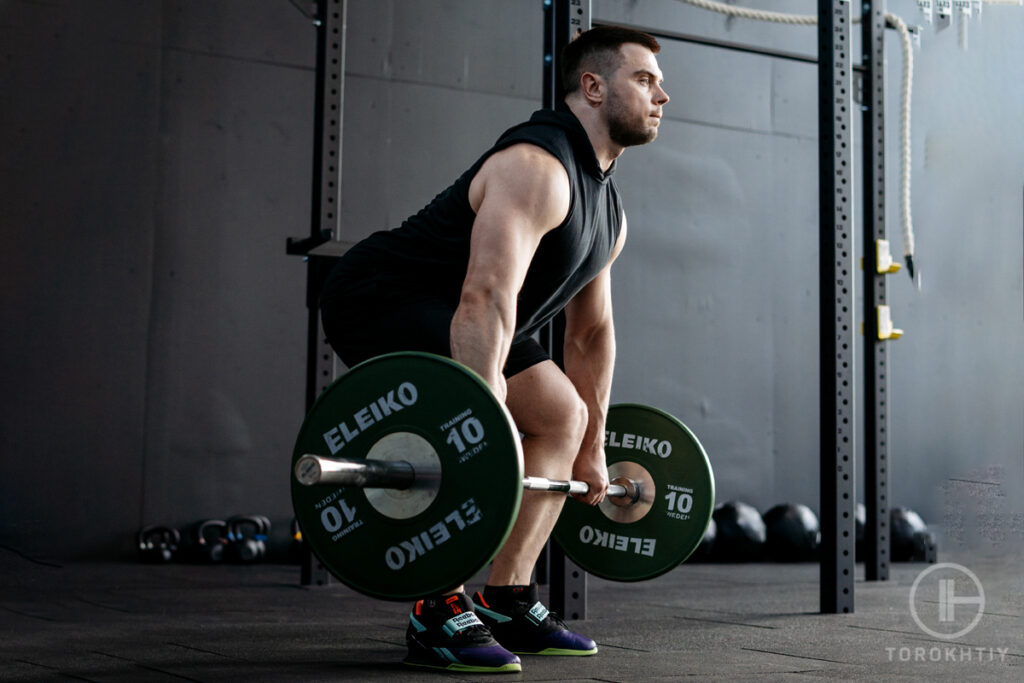
You can even progress within your standard deadlift by starting with lower weights and slowly adding more importance to your barbells as your strength increases.
You can move on to different variations once you have enough experience with conventional deadlifts. A Romanian deadlift helps in building strength and extra muscle mass since it constantly activates your hamstrings and glutes. A Sumo deadlift is great for changing posture and adding challenges to your training routine.
FAQ
What Is A Good Progression Program For Deadlifts?
There are multiple deadlift progression programs available for you to try out. But a good progression program will always start you off from the basics of a deadlift, i.e., posture and technique, and slowly advance you to advanced stages.
How Should Fast Deadlift Progress?
There’s no hard and fast rule on how fast your deadlifts should progress. It all depends on your training routine. Normally, it can take 4-8 months, depending on your initial strength and how far you wish to progress in your workouts.
Conclusion
In conclusion, if you’re starting your powerlifting journey, you must incorporate regular deadlifts into your routine. As a beginner mastering your hip hinges should be your top priority.
You can steadily stabilize your core from here and then move on to conventional deadlifts. Just ensure you perfect each step before moving on to the next.
Let us know if you can add deadlifts to your powerlifting routine.
Also read:
- Bad Deadlift Form
- Is Sumo Deadlift Easier
- Rack Pull vs Deadlift
- How to Hook Grip Deadlift
- Is 405 a Good Deadlift
- How Often Should You Deadlift
- Kettlebell Buying Guide
References:
- Electromyographic activity in deadlift exercise and its variants // Plos One: https://journals.plos.org/plosone/article?id=10.1371/journal.pone.0229507
- Prevalence and Consequences of Injuries in Powerlifting // NCBI: https://pubmed.ncbi.nlm.nih.gov/29785405/
- Incidence and Risk Factors of Sports Injuries Among National Competitive Deadlifters // ResearchGate: https://www.researchgate.net/publication/351091519
Why Trust Us?
With over 20 years in Olympic weightlifting, strength training, nutrition coaching, and general fitness our team does its best to provide the audience with ultimate support and meet the needs and requirements of advanced athletes and professional lifters, as well as people who strive to open new opportunities and develop their physical capabilities with us.
By trusting the recommendations of our certified experts in coaching, nutrition, and sports training programming, as well as scientific consultants, and physiotherapists, we provide you with thorough, well-considered, and scientifically proven content. All the information given in the articles concerning workout programming, separate exercises, and athletic performance, in general, is based on verified data.
The product testing process is described in more detail here.
Author: Sergii Putsov
Head of Sport Science, PhD
Best Results: Snatch – 165 kg,
C&J – 200 kg
Sergii Putsov, Ph.D., is a former professional weightlifter and National team member, achieving multiple medals in the 94 kg weight category at national competitions. With a Master’s degree in “Olympic & Professional Sport Training” and a Sport Science Ph.D. from the International Olympic Academy, Greece, Sergii now leads as the Head of Sport Science. He specializes in designing training programs, writing insightful blog articles, providing live commentary at international weightlifting events, and conducting educational seminars worldwide alongside Olympic weightlifting expert Oleksiy Torokhtiy.
Reviewed by: Oleksiy Torokhtiy
Olympic Weightlifting Champion, PhD in Sport Science
Best Results: Snatch – 200 kg,
C&J – 240 kg
Oleksiy Torokhtiy is a professional athlete boasting 20 years of experience in Olympic weightlifting. With multiple European and World titles under his belt, he has showcased his prowess in two Olympic Games (Beijing 2008 and London 2012). Upon concluding his illustrious career, Oleksiy dedicated himself to coaching. By 2022, he had conducted over 200 weightlifting seminars worldwide. He is the visionary behind an international sportswear and accessories brand known for its motto, “Warm Body Cold Mind.” Additionally, he is an esteemed author and the creator of a series of training programs and eBooks.



Still have questions after reading our article? Unlock your full potential by engaging with our experts and community! Don’t hesitate — leave a comment below and Sergii Putsov will provide a personalized answer and insights to help you reach your goals.