Creating Your DIY Ice Bath: Step-by-Step Guide
Author:
Unlock your full potential by engaging with our experts and community! Have questions about your fitness journey or looking for expert advice on weightlifting techniques? Don’t hesitate — leave a comment below and Jacek Szymanowski will provide a personalized answer and insights to help you reach your goals.
Torokhtiy is reader-supported. Some links are affiliate links, and we may earn a commission at no extra cost to you. See our disclosure page for details.
Why would you want all the hassle of making a DIY ice bath when you can just get one that’s all set up? Well… Have you seen the price on those things? It’s an investment, to say the least, and why not save a few bucks if you can make your own?
It can be intimidating for sure, but the thing is, setting up a DIY ice bath is easier than you think, and you don’t need to be especially handy to be able to do it.
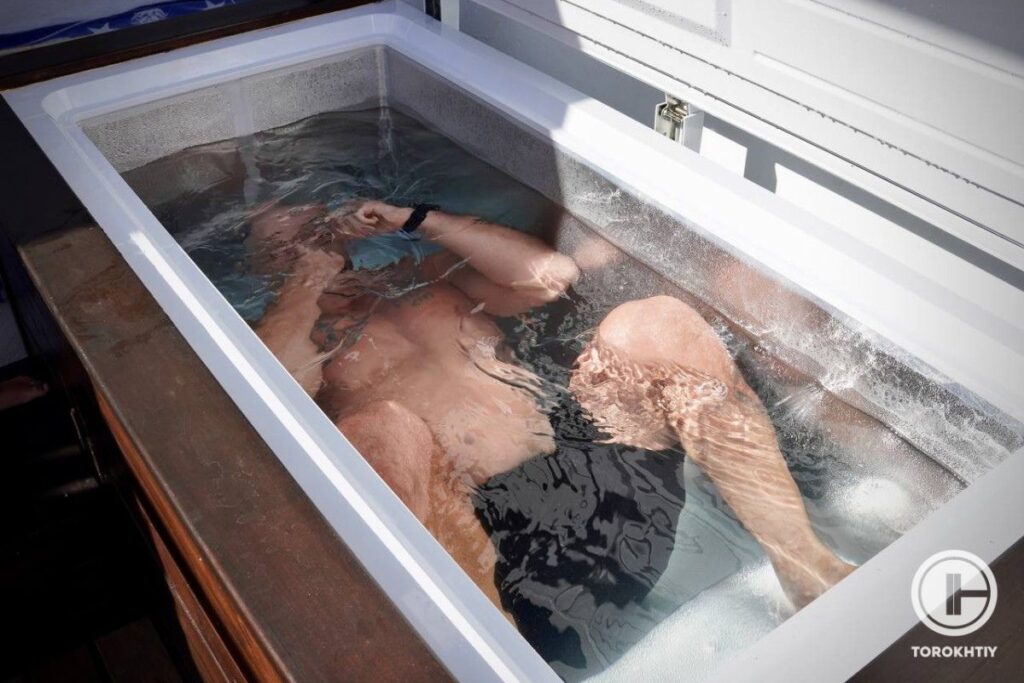
How to Make a DIY Ice Bath? Convert a chest freezer into an ice bath tub. Clean it with acetone, seal the seams with transparent silicone, and fill it with water. You can use a thermometer to monitor the temperature, and a disinfectant to keep the water clean.
You’ll need a few things here and there, but once you’re done, you’ll have your very own ice bath that’s just as effective as a premium one, but you’ll have spent only a fraction of your money on it.
Get ready to chill out, embrace the cold in a whole new way, and learn how to make your own ice bath!
Let’s dive into this fellow DIYers!
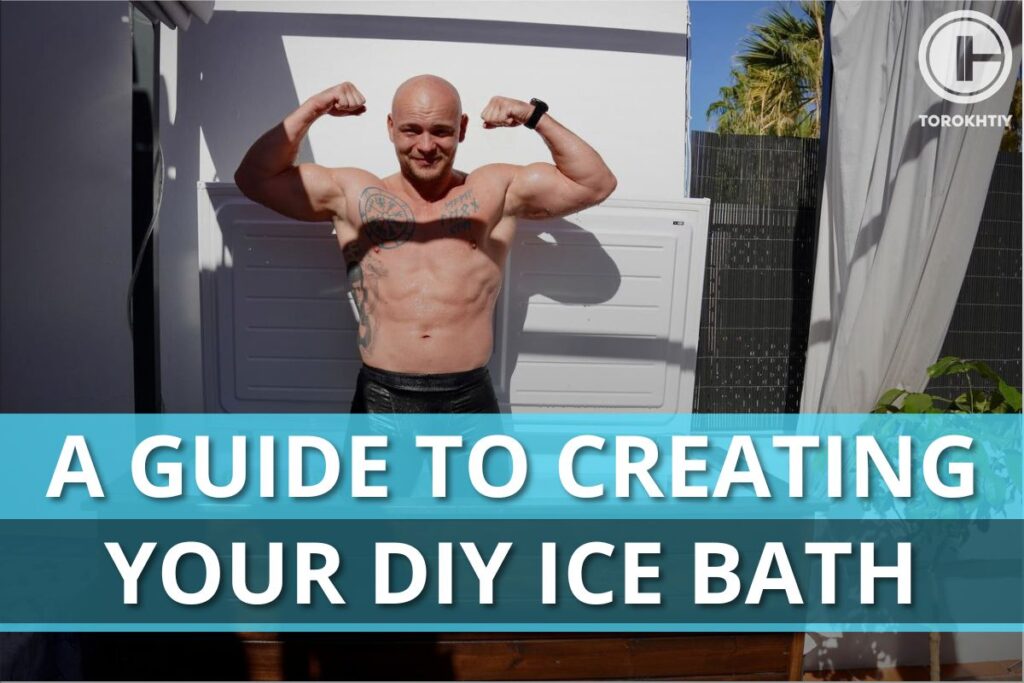
How to Build an Ice Bath at Home?
Arm yourself with patience and if this process gets frustrating, just remember all the benefits ice baths have.
You’ll need a container that’s suitable for cold therapy – it needs to be long and deep enough for you to submerge yourself in it. The ideal water temperature is between 34 and 59°F, but if you’re a beginner and don’t have any experience with ice baths, start with a higher temperature and gradually decrease it as you get more comfortable.
You can cool the water with ice, and then use a thermometer to check the temperature. Start with shorter sessions and as you adapt to the cold, increase the duration little by little or bring the temp down.
You’ll need a disinfectant to keep the water clean, but if you don’t have a filtration system, after a few uses, do yourself a favor and change it completely.
DIY Budget Ice Bath
If you want to create an ice bath in a do-it-yourself fashion, then you’re in luck, since we’ll guide you by providing simple steps to achieve just that. Let’s dive in!
1. A Step-by-Step Guide
After choosing a suitable container such as a plastic tub or a freezer (a chest freezer is your best bet), check that the container is sturdy enough to support your weight, and the water inside it. And ensure that you can fit inside it (you want the container to enable you to submerge your whole body).
A freezer is generally the best recommendation since it can cool the water inside it to the desired temperature without having to rely on bags of ice cubes or having to add pre-frozen water. Depending on where you live, ice cubes can get quite expensive (unless you’re creating them yourself).
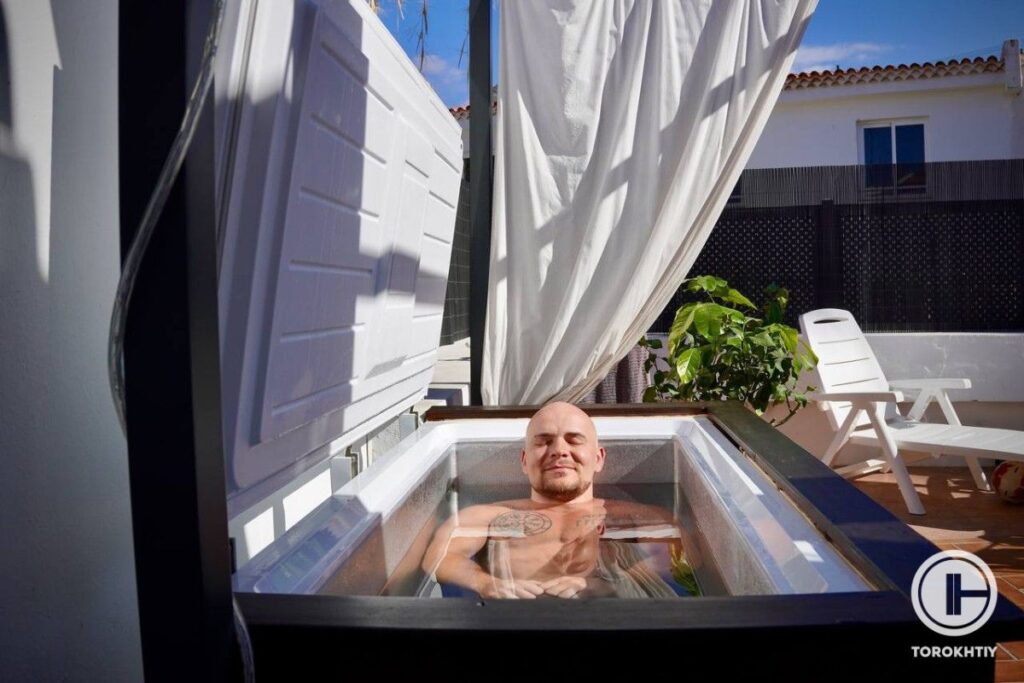
Still, you’ll still need plenty of space to create all that ice (depending on how often you take ice baths), and at that point, you might as well just buy a chest freezer. So, in this example, we’ll go with the chest freezer. But if you want to keep things more on a budget, then go for a plastic container and follow the same steps below.
You’ll probably need a few bags of ice to cool the water down initially, but you can also use frozen water bottles.
Before you put any water or ice in it, clean your container with acetone. Acetone is a super powerful solvent, and it can dissolve grime, grease, oils, and other organic materials that can interfere with sealant. But, since acetone is such a powerful solvent, you might want to avoid using it if your container of choice is a plastic one.
This is because acetone might dissolve and damage the container, weakening its structural integrity. Even if you choose a freezer you’ll have the same issue. Almost every freezer is coated with paint plus a clearcoat (it’s not just bare metal). So acetone will likely cause damage to that protective layer.
And while acetone will not cause oxidation/corrosion on the bare metal on its own, it will remove any protective oils from the metal surface which will leave the metal surface exposed to the elements.
It is safer to use a mix of soapy water (2 tablespoons of soap/detergent to 1 quart/liter of water) to remove heavy grease and embedded oils, and Isopropyl Alcohol (IPA) after you rinse and dry the cleaned area.
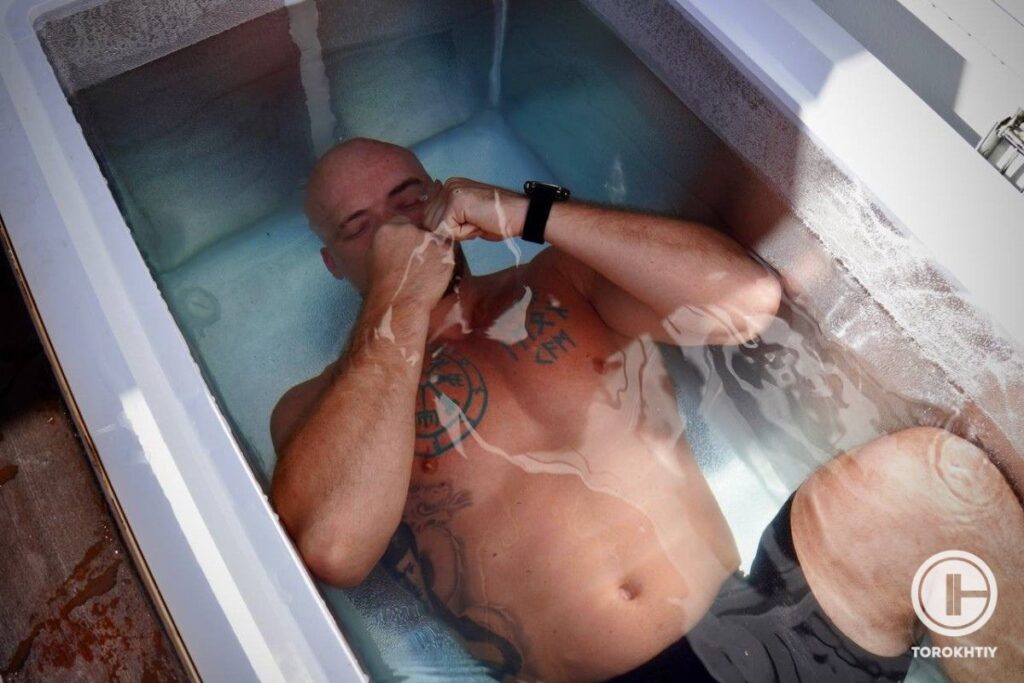
Once the container is clean, apply clear silicone (a good safe option is to get an aquarium sealant) to the interior to make it waterproof. A freezer is not built to handle constant water exposure, so if you skip this step, the water will seep into seams and cause damage. Apply the silicone to all seams, joints, and potential weak points. Seal around the drain plug, too (if your freezer has it) and cover any spots where the interior lining meets the outer shell. Let it cure according to the manufacturer’s instructions (usually, this takes one to two days). Give it a small test ride and fill it with a small amount of water to check if it’s sealed properly.
Add water and ice and use a thermometer to check the temperature. You can even add some Epsom salts or essential oils to promote relaxation. Tea tree oil smells nice, and it has antibacterial properties, so you won’t go wrong with adding it to your ice bath.
You’ll need to keep the water clean, and you can use chlorine to do so, in the correct amounts it is safe. Always follow the manufacturer’s instructions when it comes to the dosage. There are also other ways to keep your water clean, even without chlorine if you need to avoid it for some reason.
2. Materials and Tools Required
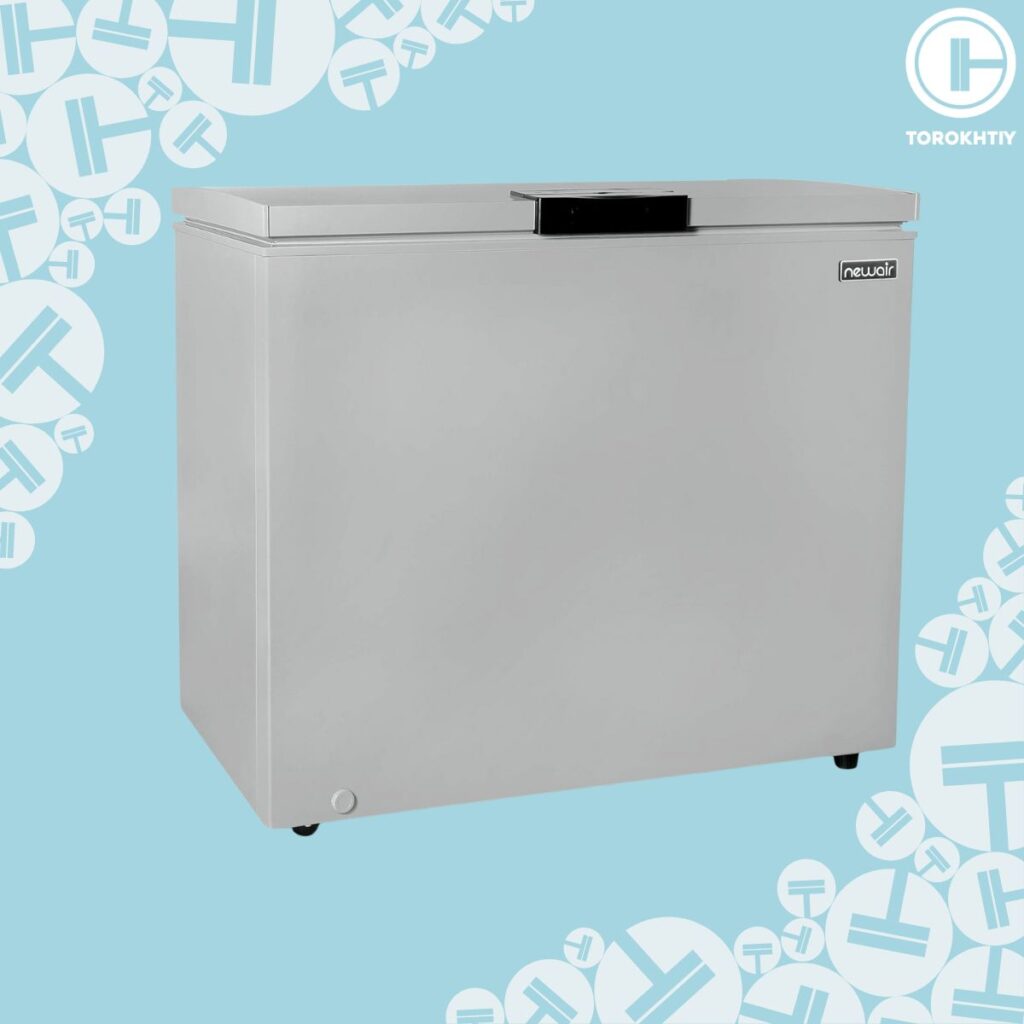
To make your life easier, we’ve come up with a list of specific tools you’ll need to create your DIY cold plunge, and you can start with NewAir’s chest freezer.
Its dimensions are 22’’D x 37.4’’W x 33.3’’H and it strikes a balance between size and functionality. It’s made of stainless steel, and you can choose between three colors – black, grey, and green.
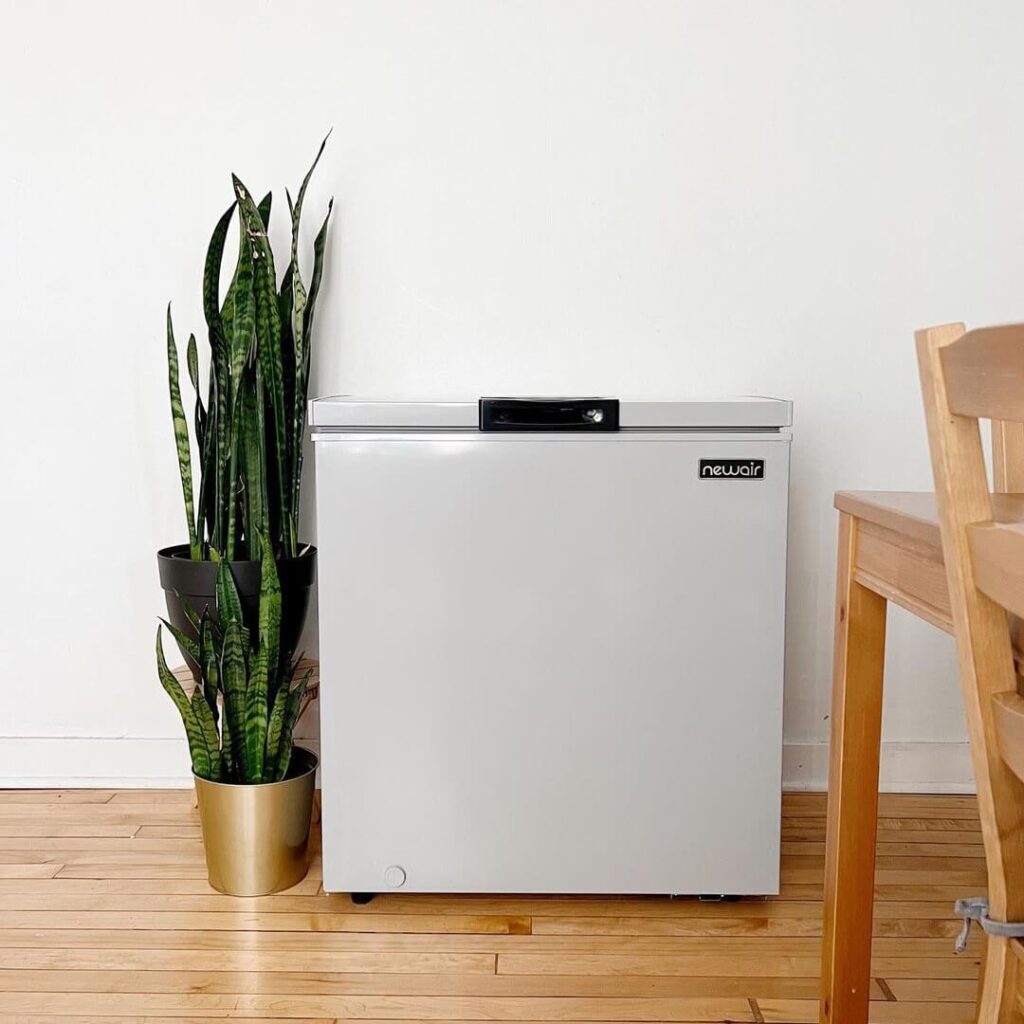
There are two sizes available, but we highly recommend the 7 cubic feet one. Remember that you won’t use this for frozen groceries, so be sure that you can fit in fairly comfortably (even lay down)… Basically the bigger, the better.
WARNING:
If you’re using the chest freezer to cool down the water for your ice bath, then ensure that you unplug the freezer before you enter. You want to avoid any shocking surprises at all costs. Safety first!
The freezer has a digital control panel at the top of the lid, and it allows for precise temperature adjustments. There’s also a door alarm for extra security.
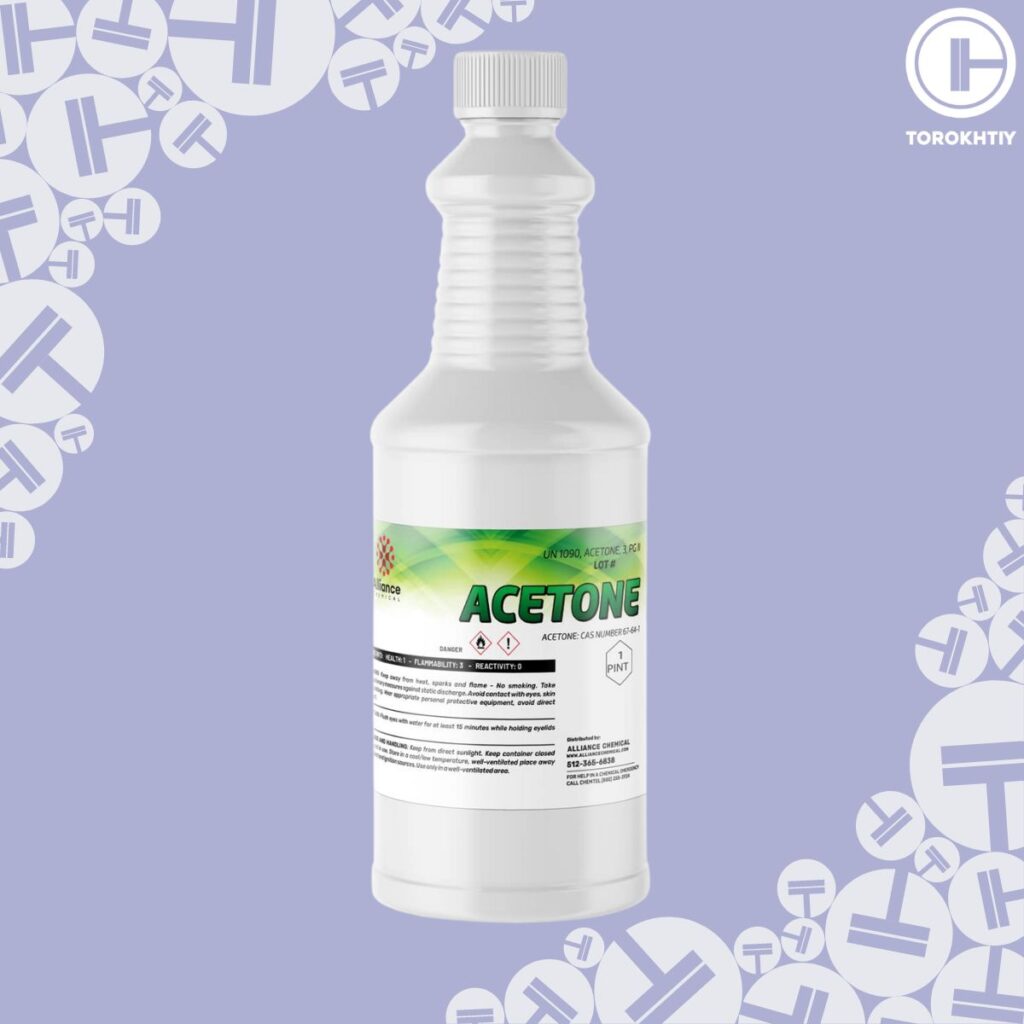
If you’re a nail tech or you get your nails professionally done, you’re familiar with how potent pure acetone is. This one comes in a 16 Fl Oz bottle and it’s great for removing pretty much any kind of residue from your homemade ice bath.
It evaporates quickly and leaves nothing behind, which means you won’t have to wait forever to fill your chest freezer with ice. Although it’s flammable, when you compare it to some other solvents, acetone has relatively low toxicity, so it’s safe to use for cleaning.
WARNING:
If you’re using a plastic container for your ice bath, then avoid using acetone as it may damage the plastic and weaken its structural integrity rendering the container useless for your project. Instead, use isopropyl/rubbing alcohol.
The price point is excellent, and you’ll get a lot of use out of this bottle because acetone has low surface tension, and it spreads very evenly across all surfaces.
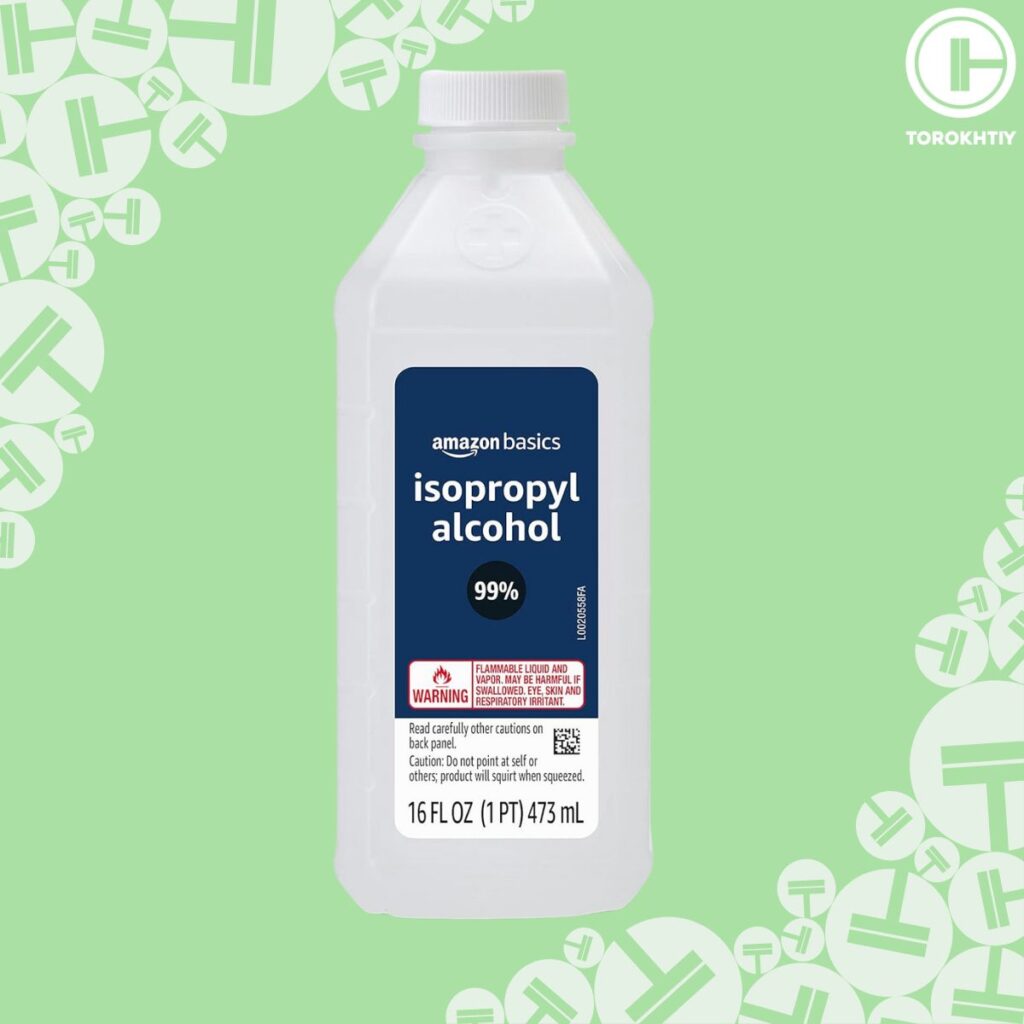
If you opted to use a plastic container for your ice bath, then you should avoid using acetone as it can damage the plastic container (or are unsure of whether you’ll damage the paint by using acetone), potentially ruining the container itself. Instead, what you can use is common isopropyl alcohol (IPA) also known as rubbing alcohol. IPA is not that aggressive, but it’ll still deal with oils, dirt and grime effectively.
However, if you opt for this route, then first you should use a soapy water mixture (2 tablespoons of detergent/soap to 1 quart/liter of water) to remove the heavy grease and oils (if there are any). After rinsing and drying the worked areas, use IPA. The alcohol will evaporate on its own really quickly, while still getting the final cleaning job done.
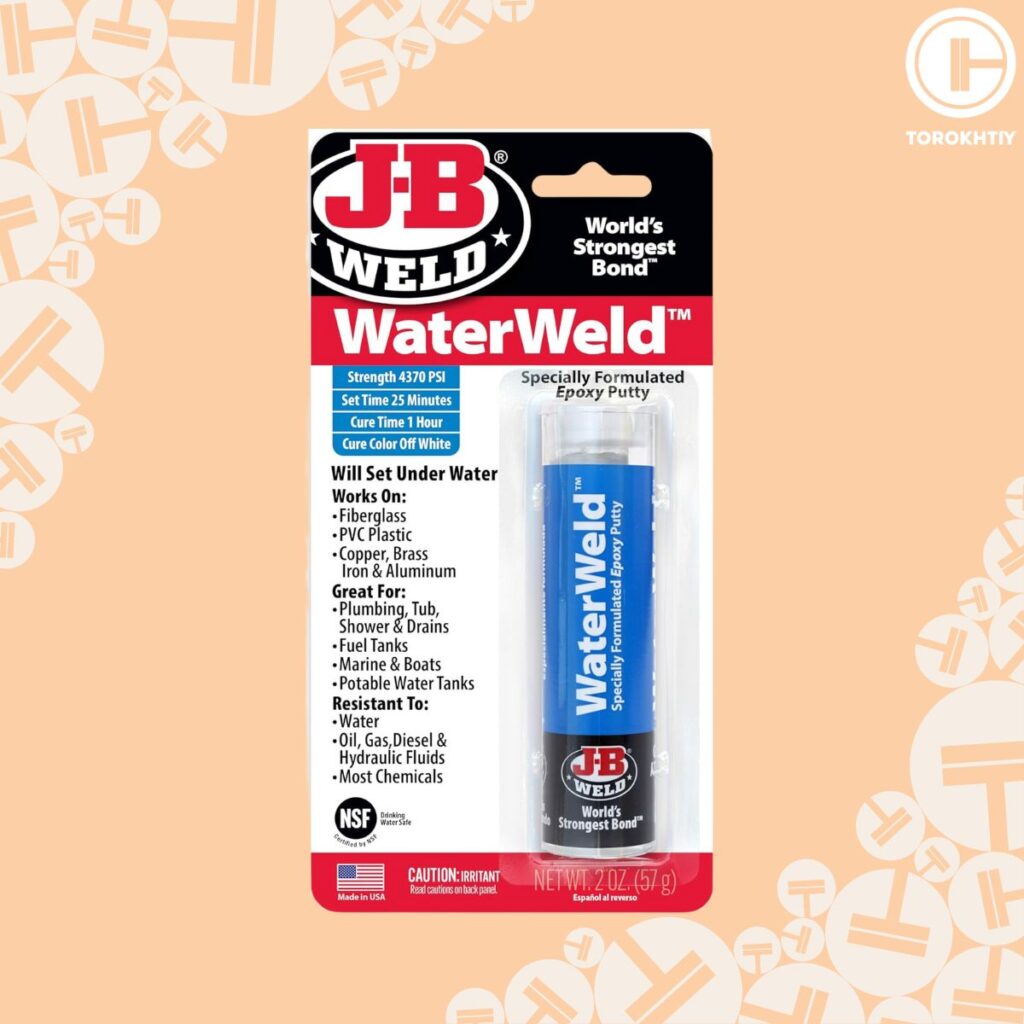
This putty stick is a hand-mixable two-part epoxy putty stick that can be used for all kinds of things, and one of them is sealing the ice bath. It can cure underwater, which is one of the reasons it’s the best choice for your DIY ice bath barrel. It’s a perfect way to address any cracks, leaks, and holes.
It will also prevent the water from seeping where it shouldn’t.
In case you went for a plastic container instead of a chest freezer, you might not need to use a sealant (depending on the construction of the container).
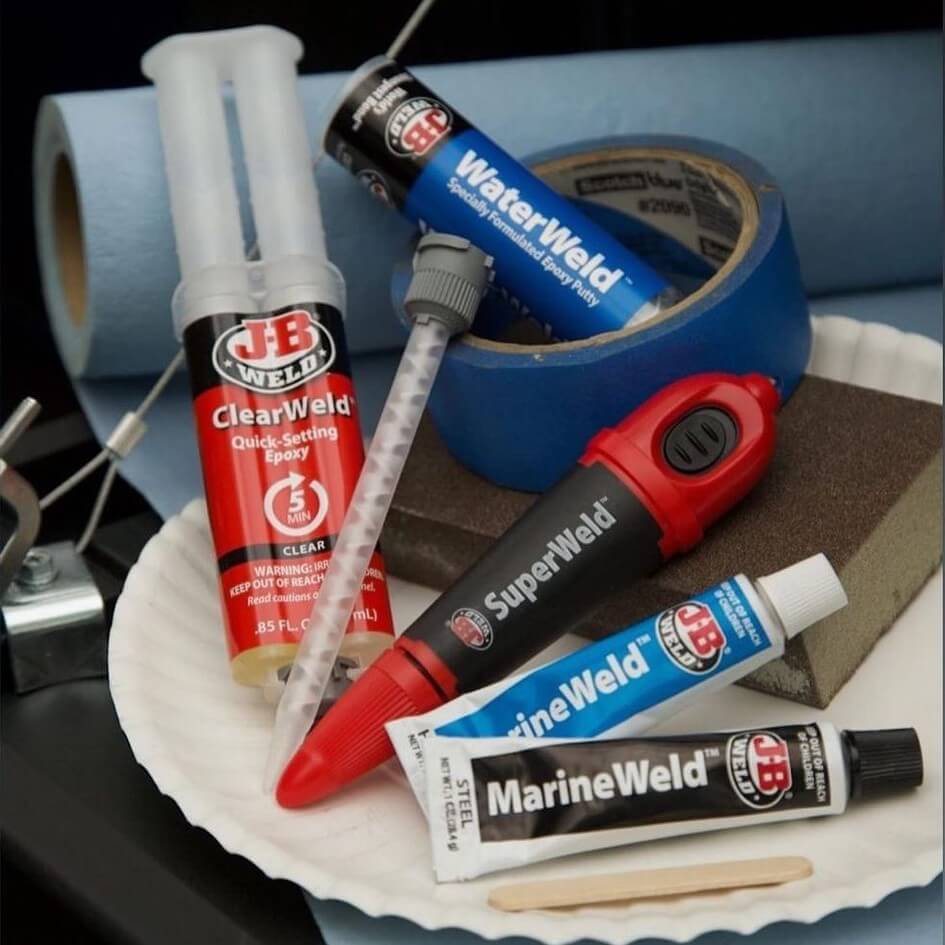
It is certified by the NSF and needs only 25 minutes to cure. This means that you won’t need up to two days to set up your ice bath, which is usually how long you need to wait for the silicone to cure.
It’s very durable and the tensile strength is 1300 PSI, and it is chemically resistant once it’s cured. The price is amazing – you get a high-quality product for super cheap, but you will need few of them.
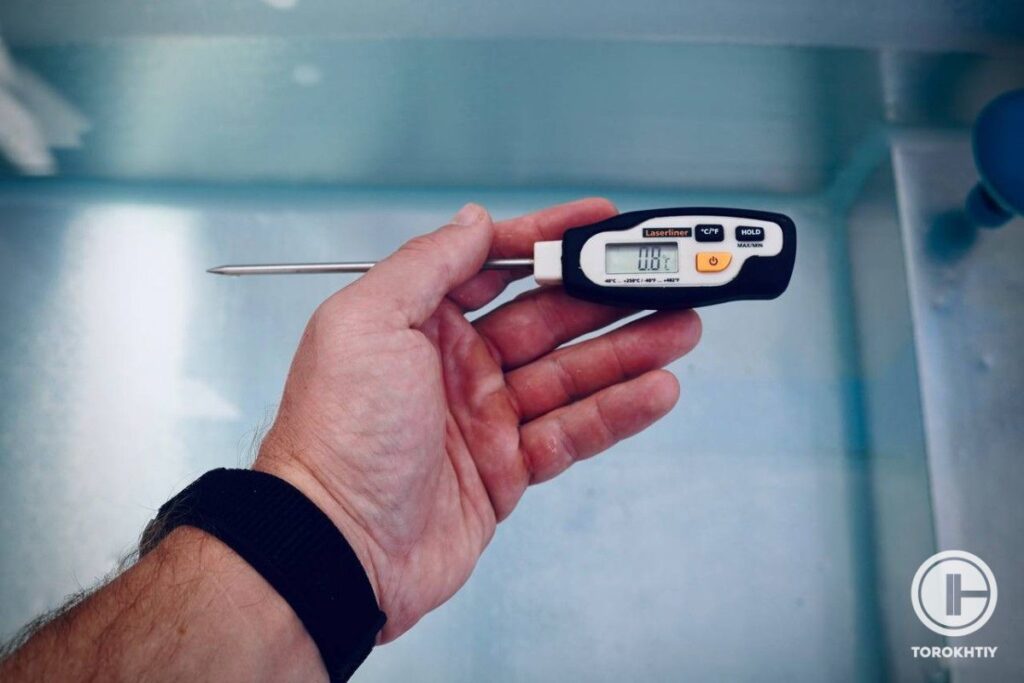
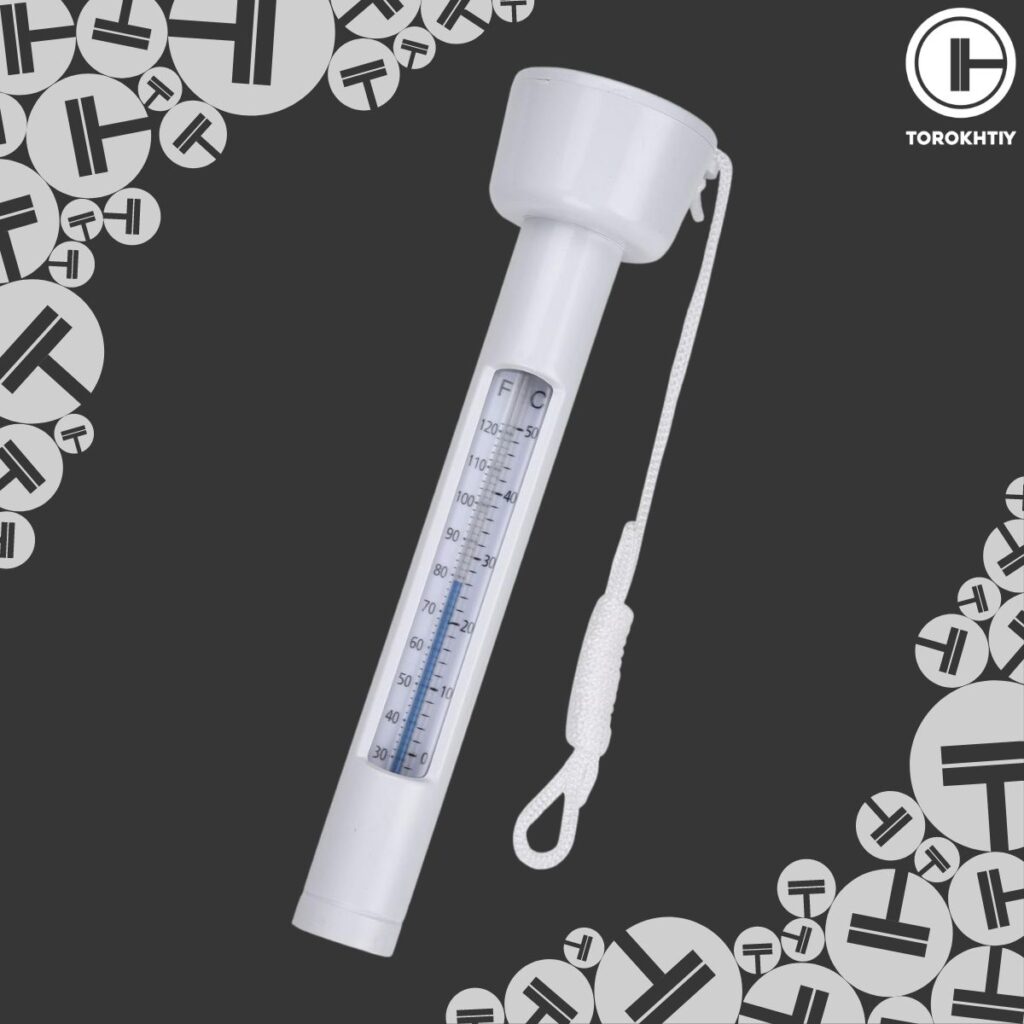
An ice bath needs to be at a certain temperature to be effective, and how can you know what the temperature is if you don’t have a thermometer? Well, you can’t, so here’s an affordable one you can use.
Most chest freezers have the option to set the desired temperature, but have no actual way of checking what the current temperature is. This is why having a thermometer is handy and is a great addition.
The eLander thermometer is highly accurate, with a large temperature reading display that shows both Fahrenheit and Celsius. It is shatter-resistant and durable, which is exactly what you need to make a thermometer suitable for an ice bath.
To measure, just stick it into the water and pull it out to read. The display is analog and has a response time of 500 milliseconds. You can also leave it inside.
You’ll need to change the water in your ice bath from time to time, but it’s not necessary after every use because there are ways of keeping the water clean.
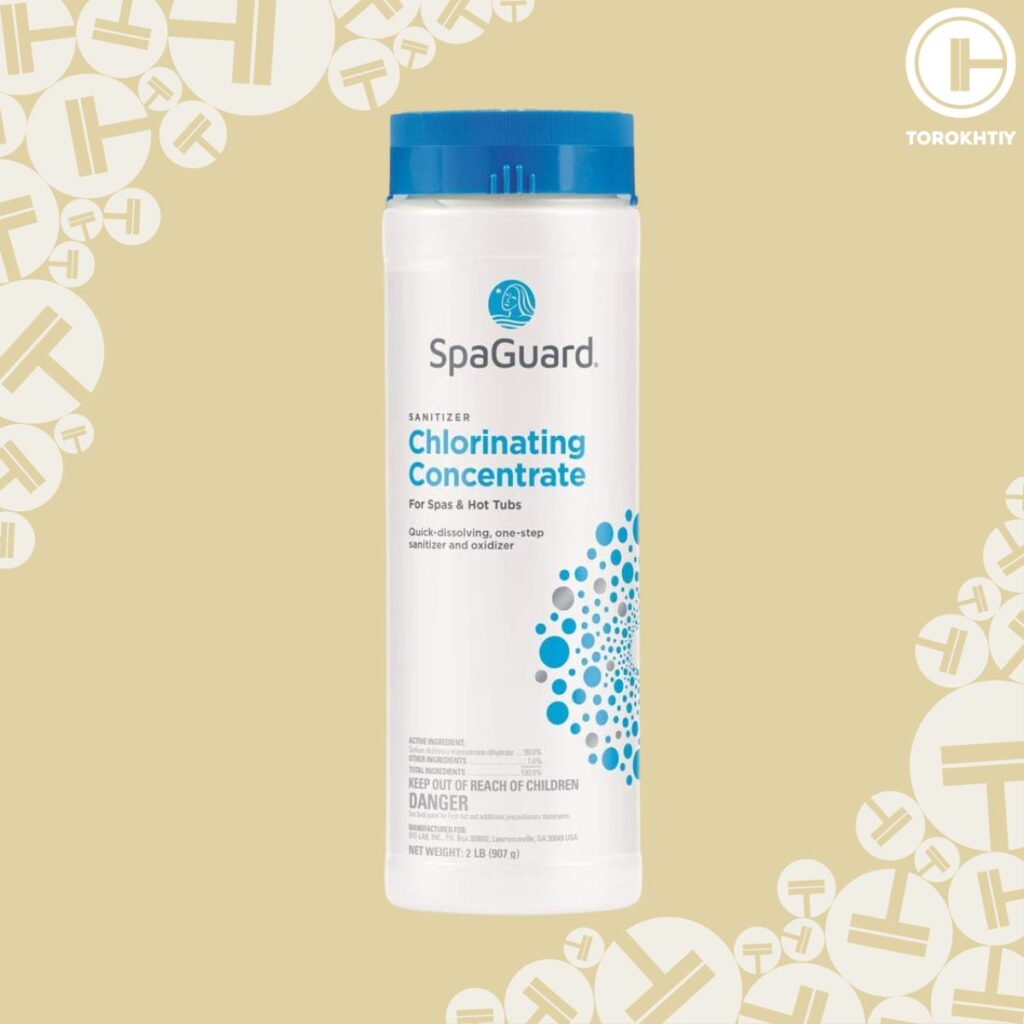
This is a granular chlorinating concentrate that will eliminate all contaminants in your ice bath. You can add it directly into the water without pre-dissolving. When you use it in regular doses, it serves as a sanitizer, but in shock doses, it is an oxidizer, which improves its ability to remove organic contaminants and keep the water clear.
This concentrate weighs 2 pounds, which is enough for multiple applications, so you can use it regularly to maintain your water. You should have it for a decent amount of time because you don’t need to use a lot of it to cleanse the water; an ice bath has much less water than a common jacuzzi.
DIY Premium Ice Bath
Compared to the regular DIY ice bath, you might want to take it a step further in order to get a more luxurious experience. Or you might wish to get some of those quality-of-life improvements that aren’t really mandatory and could prove costly. If that is what you’re going for, then follow the steps provided below.
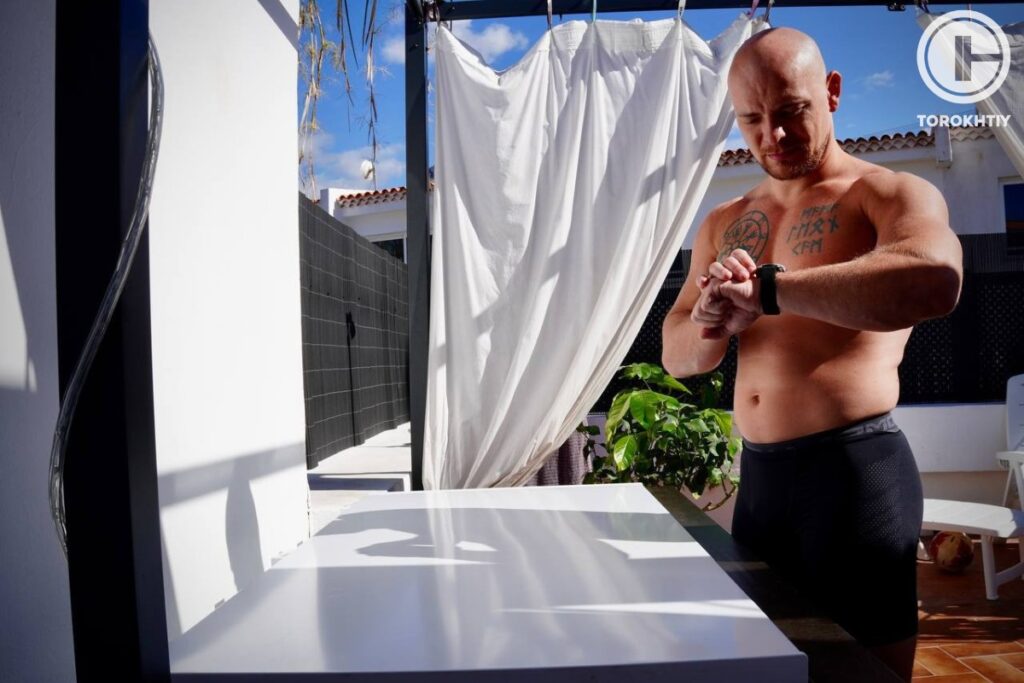
A Step-by-Step Guide
In order to get that premium feeling, you’ll most definitely want to stick to the chest freezer as the container option. You could, for example, go with a high-end therapeutic bathtub as a container, but a freezer will make it easier to control the temperature compared to solely relying on manually adding ice.
As for the plastic tub/container, that one simply won’t do. It would feel flimsy and cheap. Plus, the durability of the tub would be in question after regular use, and depending on the material thickness, the tub might start forming cracks over time.
Unless you are living in one of the Nordic countries, having to go to the store to buy heaps of ice bags, or having to freeze the ice yourself daily can quickly get annoying. And we know that a premium experience is all about removing the annoying part.
The chest freezer needs to be spacious, so you can fit in it comfortably, and it can accommodate the correct amount of water.
Before you fill it with water, clean it thoroughly with a high-grade, non-toxic cleaner that will clean it effectively and won’t leave any residue behind. This type of tub won’t need any sealing because it’s made to be exposed to water for prolonged periods, so you can skip that step.
A digital thermometer is a nice addition to check if the temperature is correct or not, and to improve the quality of your bath, you can add some high-quality bath salts that are rich in minerals, or premium essential oils.

Materials and Tools Required
Since this is a premium ice bath, you want everything to reflect that. Like previously mentioned, you can go with a high-end therapeutic bathtub, but a freezer with its ability to regulate the water temperature with a switch/button is simply far superior to relying on ice. And you can also get a quality, eco-friendly cleaner.
You will want the water to stay clean for as long as possible, and for this part, you can use the product that was recommended for the cheap DIY ice bath because all you really want from it is to keep your water clean. You can spend a few extra bucks and get something more expensive, but it’s not necessary.
So, for the premium option, you’ll still need the following:
Container:
- Chest Freezer – NewAir Chest Freezer
Preparation Work:
- Acetone (For Cleaning) – 100% Pure Acetone
- Sealing (Transparent Silicone) – J-B Weld Epoxy Putty Stick
Temperature Detection:
- Thermometer – eLander Pro Water Thermometer
If you happened to invest into a chest freezer that can display the current temperature, then you can skip the extra thermometer.
Water Cleaning:
Now, as mentioned earlier, chlorine is not the most eco-friendly option, and some people don’t like the smell. It can also cause skin irritation if you happen to have sensitive skin, or even irritation in the eyes. This is why, for the premium option, we suggest using bromine instead. Bromine is chemically similar to chlorine, but is less irritating. Bromine is also more stable at higher temperatures than chlorine, but that’s not what we’re going for here.
Bromine (For Water Cleaning) – HTH Spa 86108 Bromine Tabs
Water Cleaning:
Now, as mentioned earlier, chlorine is not the most eco-friendly option, and some people don’t like the smell. It can also cause skin irritation if you happen to have sensitive skin, or even irritation in the eyes.
This is why, for the premium option, we suggest using bromine instead. Bromine is chemically similar to chlorine, but is less irritating. Bromine is also more stable at higher temperatures than chlorine, but that’s not what we’re going for here.
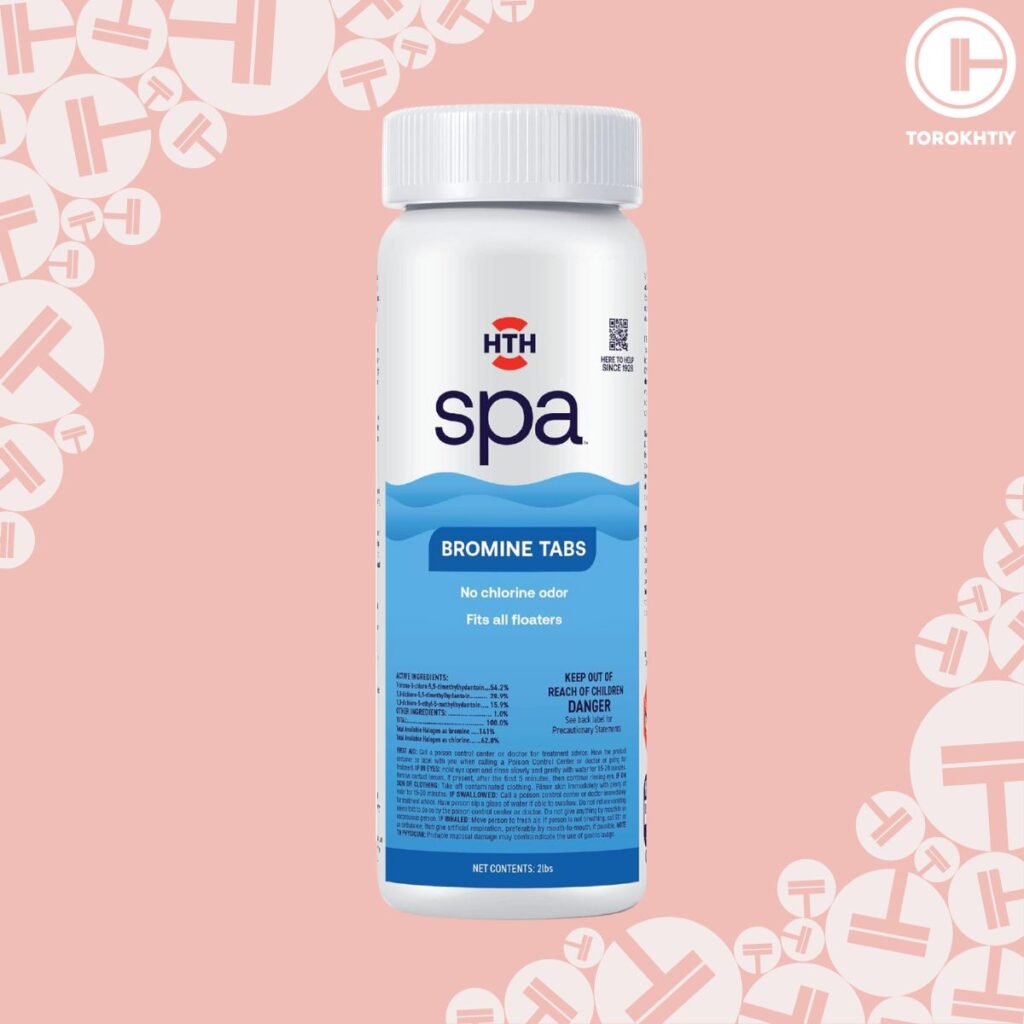
Bromine tablets can be used instead of chlorine to get the same water-cleaning/disinfecting effect. It kills bacteria and keeps the water clear without having the same odor associated with chlorine.
Keep in mind that bromine tablets do have some chlorine in themselves; however, this product was created in such a way that there is really no odor accompanied while the tablet does its magic.
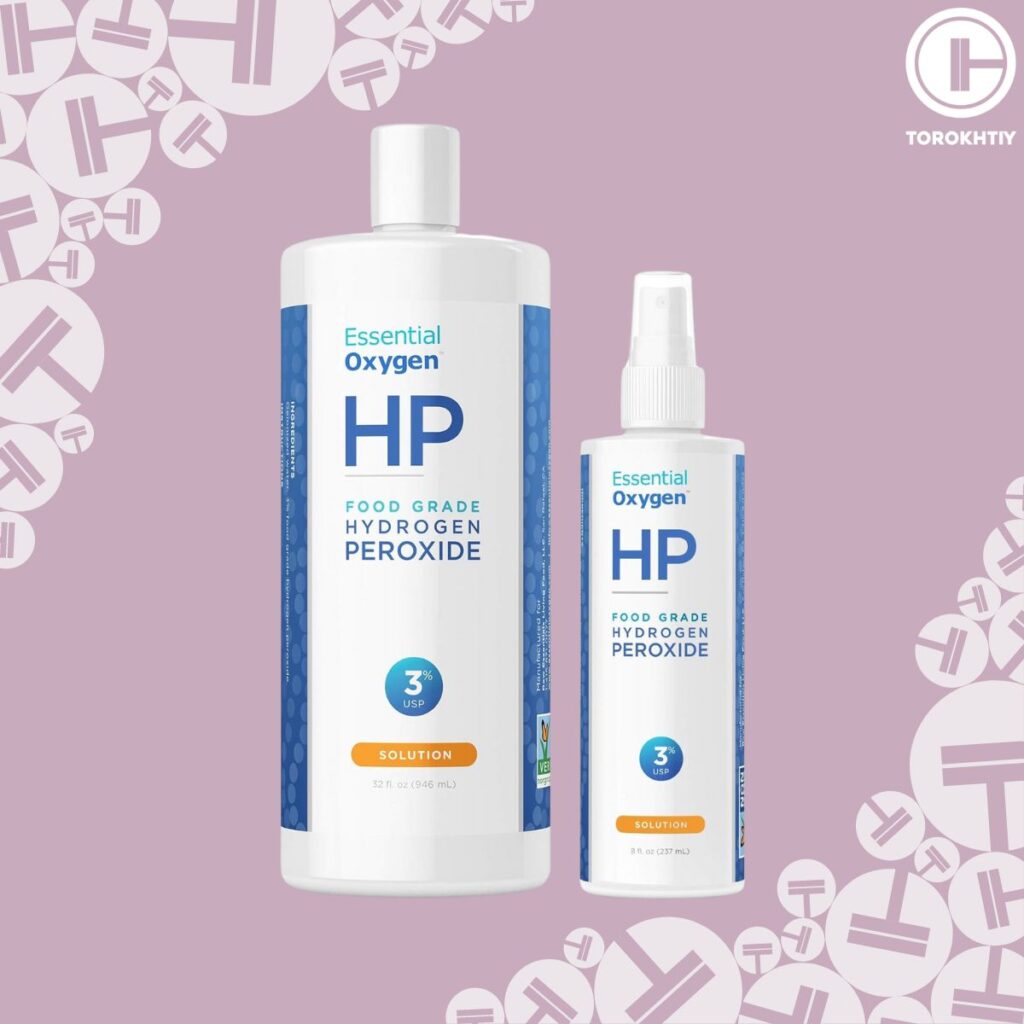
If you think that dealing with bromine might be too intense because of the unfamiliarity, or you’re looking for a more eco-friendly approach; you have a second option – hydrogen peroxide. Hydrogen Peroxide (H2O2) is the eco-friendly option since the 3% H2O2 is also food graded. You can get it in higher concentrations, but for our purposes, that is not required.
Hydrogen Peroxide (H2O2) is very simple to use. This is a 3% solution, which is considered food-grade. Get a couple of bottles of this thing just so that you have it around when you need it.
Initially, when you fill your freezer with water, pous about ¼ to ½ of the bottle into the ice bath. Stir it with your hand a little bit, and you’re ready to go.
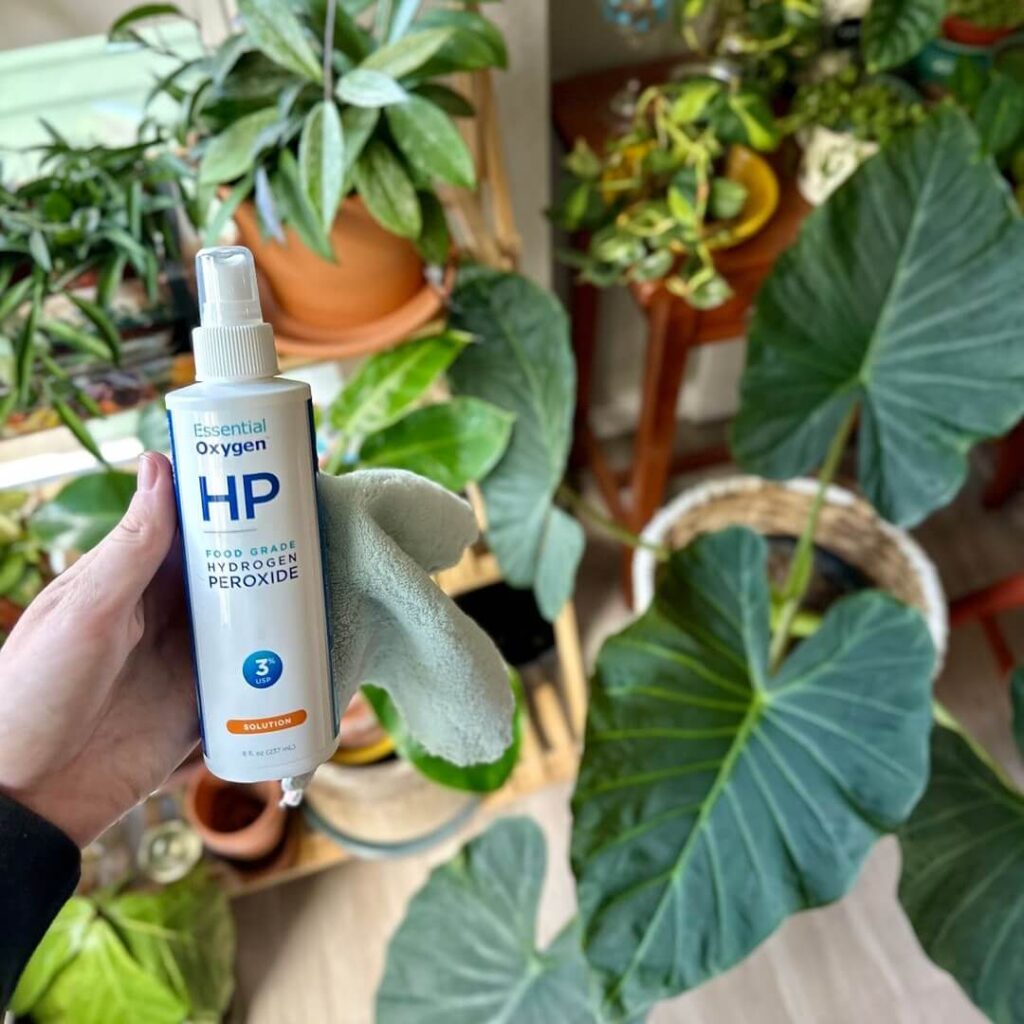
Every week, drop 1-2 caps of H2O2 into the bath, depending on how much you use the ice bath. Depending on other factors like how many people use the tup, do you shower before the ice bath – things like that.
You don’t have to be super strict about it. Just look at the water; if it looks cloudy or oily at all, just drop a cap of the liquid into the bath, and you’ll be fine. H2O2 has no odor accompanied with it, no taste, it does not cause irritation, and it is safe if you get it in your face/mouth/eyes when the water splashes.
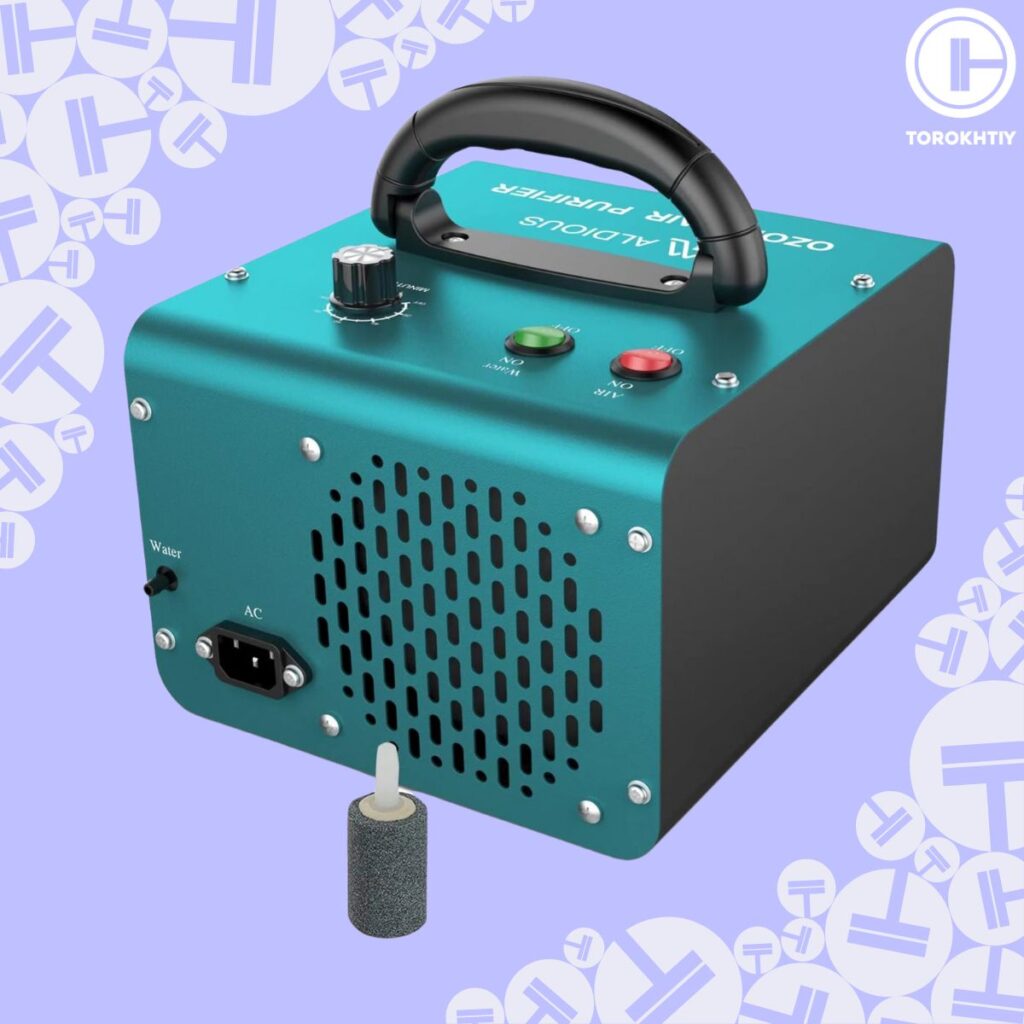
If you want to take the ice bath cleaning to another level, then getting an ozone generator is a fantastic idea. This is because still/stagnant water is a inviting habitat for microorganisms, especially if you let it sit for a longer time period. And then you’ll have to deal with odor, algae, cloady/murky water, and the water can then even affect your health in a negative way.
Moving/purified water will get rid of those microorganisms keeping the water clean for much longer.
How the ozone generator works is – you plug it in, place the plastic tube (that comes with the generator) into the ice bath, turn it on and let the ozone generator do its magic.
To simplify it, the ozone generator generates ozone (O3), which is a molecule consisting of three oxygen atoms combined. Ozone is a very powerful oxidant which helps purify the water from other contaminants via a process called ‘oxidation’.
Oxidation effectively kills bacteria, viruses, and microorganisms and can also help remove/break down some chemical contaminants (think of oils on your body, sweat, shampoo/body cream/deodorant/perfume residue, etc.).
WARNING:
It goes without saying that electricity and water don’t mix well (if we’re talking about your health). So, ensure to keep the generator in a non-slippery space while it’s doing its thing. You don’t want it falling inside the tub. Also, make sure to unplug the generator before you enter the tub, or as soon as it is finished. Better be safe than sorry!
If the water inside your ice bath is cloudy you’ll be able to see the before and after difference with your naked eye.
If you want to go the more traditional route of water purification, you can go with a water filter.
Now, water filtration systems can be complicated to set-up, and many of them might even require you to drill the container so that gravity can bring the water to the filer. Even some filters that come with a pump might still require you to drill holes into the container as the pump is not strong enough to vertically suck the water out of the ice bath.
And by drilling holes into your chest freezer you might damage it beyond repair, introduce condensation, and all kinds of problems.
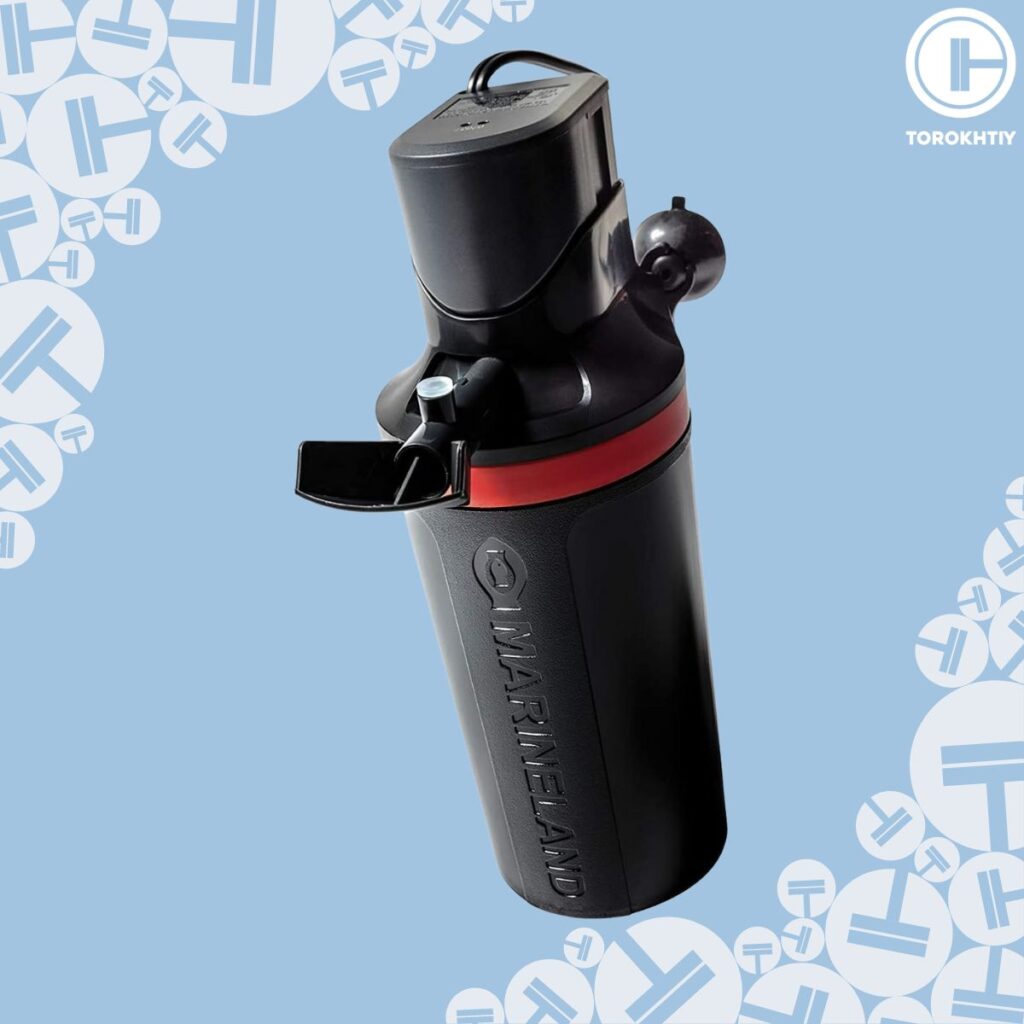
The MarineLand Aquarium pump+filter is a all in one simple-to-use unit. You place it inside the ice bath (inside the water). Flip the switch, and you let it do its magic. All you have to do is to change the activated carbon filter once it wears out (usually once a month), and that’s it.
The pump can filter about 290 gallons of water per hour. Your typical chest freezer can hold about 100-150 gallons of water in it (keep in mind that for an ice bath you wnat have it filled to the brim), so you’ll be able to turn over all the ice bath water about 2-3 times per hour. It is very simple to use and it is very effective.
Make sure to turn the filter off and unplug it before you dip in!
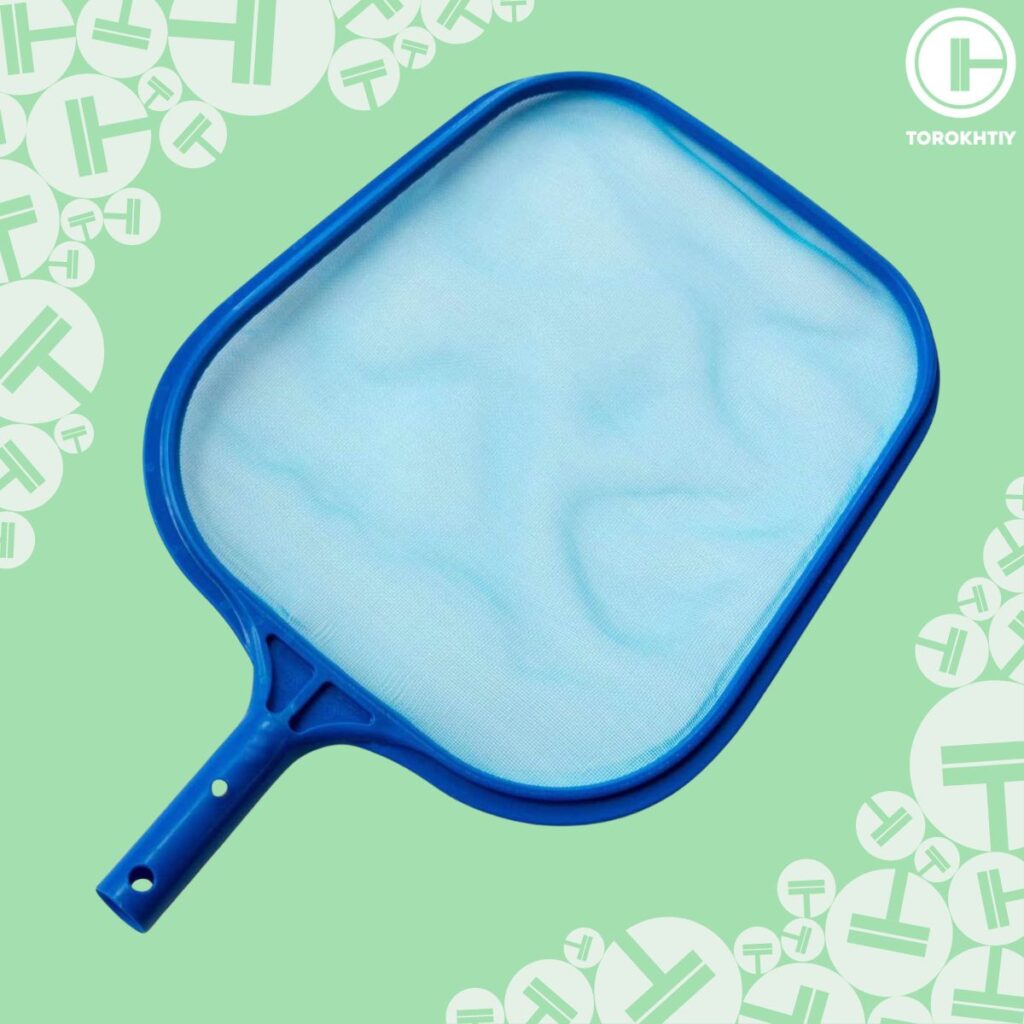
In case your freezer is not closed, or you’ve removed the top for some reason, then bugs, leaves and other debris might get into the water and will end up floating on the surface. A mesh will help you deal with ‘unwanted debris inside my ice bath’ removal.
A skimmer might not sound or feel premium, but it surely beats dealing with those issues with your hand.
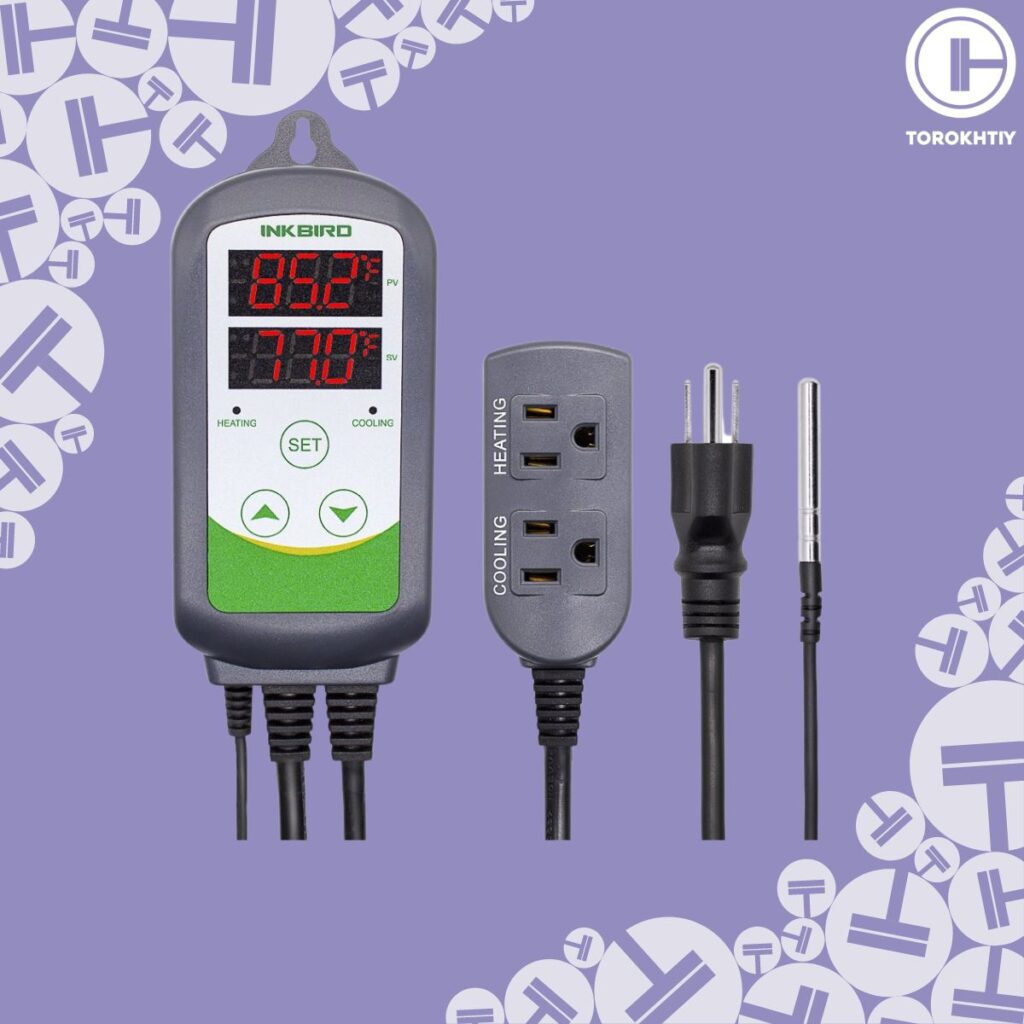
A temperature regulator, like this one from Inkbird, is an amazing addition to your premium experience if you’re looking to take your ice bathing to the next level. Your freezer (if it’s standard) might only have a nob or button to set a specific temperature, and that’s it.
If you’re looking for a very specific temperature, you can use a temperature controller to detect the current temperature, and once the desired temperature has been achieved, the controller will cut off the power, keeping the desired temperature in place.
This is very useful if you’re trying to set the ice bath to a specific temperature, which could otherwise prove to be a nuisance. If you want to take things even further, you can purchase the WiFi option, which enables you to control the temperature over a mobile device.
Keep in mind, that if you don’t have experience with setting up such systems, don’t worry, it is super easy and simple to set up. Just plug the Inkbird regulator into an electric socket, plug the freezer into the regulator, and finally place the sensor into the ice bath water. That’s it!
Tips From the Champ
If you want to further enhance the premiumness of your ice bath, then what you can do is remove the top from the freezer and create a wooden one. You can also opt for a wooden cover over the existing freezer cover. You can also cover the rest of the freezer with wood to visually improve the container drastically. If that seems like overkill, you can always paint the ice bath with a waterproof color that you like.
Olympic Weightlifting Champion
Of course, there are many different ways you can go about creating your own DIY ice bath, but we’ve shared the basic/budget and the premium way of achieving results in a very simple and straightforward way.
5 Ice Bath Alternatives
An ice bath isn’t ideal for everyone and not all people want the fuss that comes with setting it up, cleaning the water, etc. However, they’re familiar with the benefits of exposing yourself to the cold. Luckily, there are quite a few great alternatives that will still make you shiver without needing to be in a traditional ice bath.
1. Cold Weather with Minimal Clothes
It sounds like a recipe for a cold or pneumonia, but being in cold weather with not that many clothes on can be healthy if you don’t overdo it. It will stimulate your body’s cold receptors and trigger similar physiological responses like an ice bath would. 10 minutes in the cold weather will do it, don’t stay out for too long.
2. Buy an Inflatable Pool
An inflatable pool won’t be as intense as a cold bath, but you can still fill it up with cold water and adjust the temperature to your liking by adding extra ice. Inflatable pools are portable, lightweight, affordable, and allow you to enjoy the benefits of cold water anywhere.
3. Take a Cold Shower
A cold shower is a quick, accessible way to expose yourself to cold water. Cold showers have numerous health benefits, like improved circulation, enhanced alertness, and potential muscle recovery. Start with lukewarm water and decrease the temperature as you get used to the cold.
4. Swimming in Cold Water
If you have access to a lake or the ocean, take advantage of it and go for a cold dip. It will provide all the benefits a cold bath would, and you’ll get some exercise because you’re swimming. A win-win!
5. Ice Packs
This won’t really expose your entire body to the cold, but a strategically placed ice pack can still help with inflammation, reduce swelling, and numb pain receptors. Think of it as targeted, controlled cold therapy. The timing of that therapy will play a crucial role here.
FAQ
How Do You Make an Ice Bath at Home?
The simplest way to make an ice bath at home is to fill your tub with cold water and add some ice cubes until the water is cold enough. If you want something more effective, then you’ll need a container, like a chest freezer, that you have cleaned thoroughly and sealed with clear silicone. Add water and ice and enjoy your ice bath!
What Can I Use to Make an Ice Bath?
Get a tub or a container that’s big enough to submerge your body. A bathtub, inflatable pool, a chest freezer… Anything will work, as long as it’s sturdy and big enough.
How Do You Make a Cheap Ice Bath?
The most expensive thing about a homemade cold plunge is the actual container. Instead of a therapeutic tub, get a chest freezer and apply clear silicone inside to make it waterproof. Add water, and ice and measure the temperature with a thermometer. Use chlorine to keep the water clean and enjoy an ice bath without spending a fortune on it.
Conclusion
All in all, creating your own ice bath sounds more intimidating and seems more challenging than it really is. DIY-ing this project will surely accompany its own set of challenges, but in reality – if you have the tools, and follow the above-provided steps, it shouldn’t be that difficult.
WARNING:
Remember, safety first! All electrical devices should be kept away from water! And, if you’re using a freezer to cool the water, make sure to unplug it before going inside the ice bath.
What we’d love to know is your perspective and your experiences regarding DIY ice baths. Did you ever build your own ice bath? If yes, how was it? Do you have any questions, thoughts, tips & tricks that you could share?
If you do, please do share them, since the provided info will only enrich the already written guide with more useful data for anyone that has a specific need or situation in their DIY ice bath journey.
Happy DIYing!
Also read:
References:
- “Rust & Corrosion in Electrical Panels,” InspectAPedia, https://inspectapedia.com/electric /Electrical_Panel_Rust.php (accessed January 23rd, 2024)
- The citation should be formatted as: Gillian E. Clayton, Robin M. S. Thorn, Darren M. Reynolds “The efficacy of chlorine-based disinfectants against planktonic and biofilm bacteria for decentralised point-of-use drinking water,” npj Clean Water 4, Article number: 48 (2021).
- Nader Pazyar, Reza Yaghoobi, Nooshin Bagherani, Afshin Kazerouni, “A review of applications of tea tree oil in dermatology,” International Journal of Dermatology 52, no. 7 (2013): 784-790.
- “Acetone,” Chemical Safety Facts, https://www.chemicalsafetyfacts.org/chemicals/acetone/ (accessed January 23rd, 2024)5. Sharon L. Hame “6 cold shower benefits to consider,” UCLA Health, https://www.uclahealth.org/news/6-cold-shower-benefits-consider (accessed January 23rd, 2024)
Why Trust Us?
With over 20 years in Olympic weightlifting, strength training, nutrition coaching, and general fitness our team does its best to provide the audience with ultimate support and meet the needs and requirements of advanced athletes and professional lifters, as well as people who strive to open new opportunities and develop their physical capabilities with us.
By trusting the recommendations of our certified experts in coaching, nutrition, and sports training programming, as well as scientific consultants, and physiotherapists, we provide you with thorough, well-considered, and scientifically proven content. All the information given in the articles concerning workout programming, separate exercises, and athletic performance, in general, is based on verified data.
The product testing process is described in more detail here.
Author: Jacek Szymanowski
Certified Nutritionist,
M.Sc.Eng. Biotechnology
Performance Architect,
Strength and Conditioning Specialist
With over 30 years of fighting experience, specialization in nutrition coaching for athletes, and expertise in metabolic health and dietary strategies, Jacek offers a comprehensive approach to optimizing your performance and well-being. Backed by a Master of Science degree in Biotechnology, Jacek remains at the forefront of scientific advancements, ensuring that his coaching is always evidence-based and up-to-date.



Still have questions after reading our article? Unlock your full potential by engaging with our experts and community! Don’t hesitate — leave a comment below and Jacek Szymanowski will provide a personalized answer and insights to help you reach your goals.